
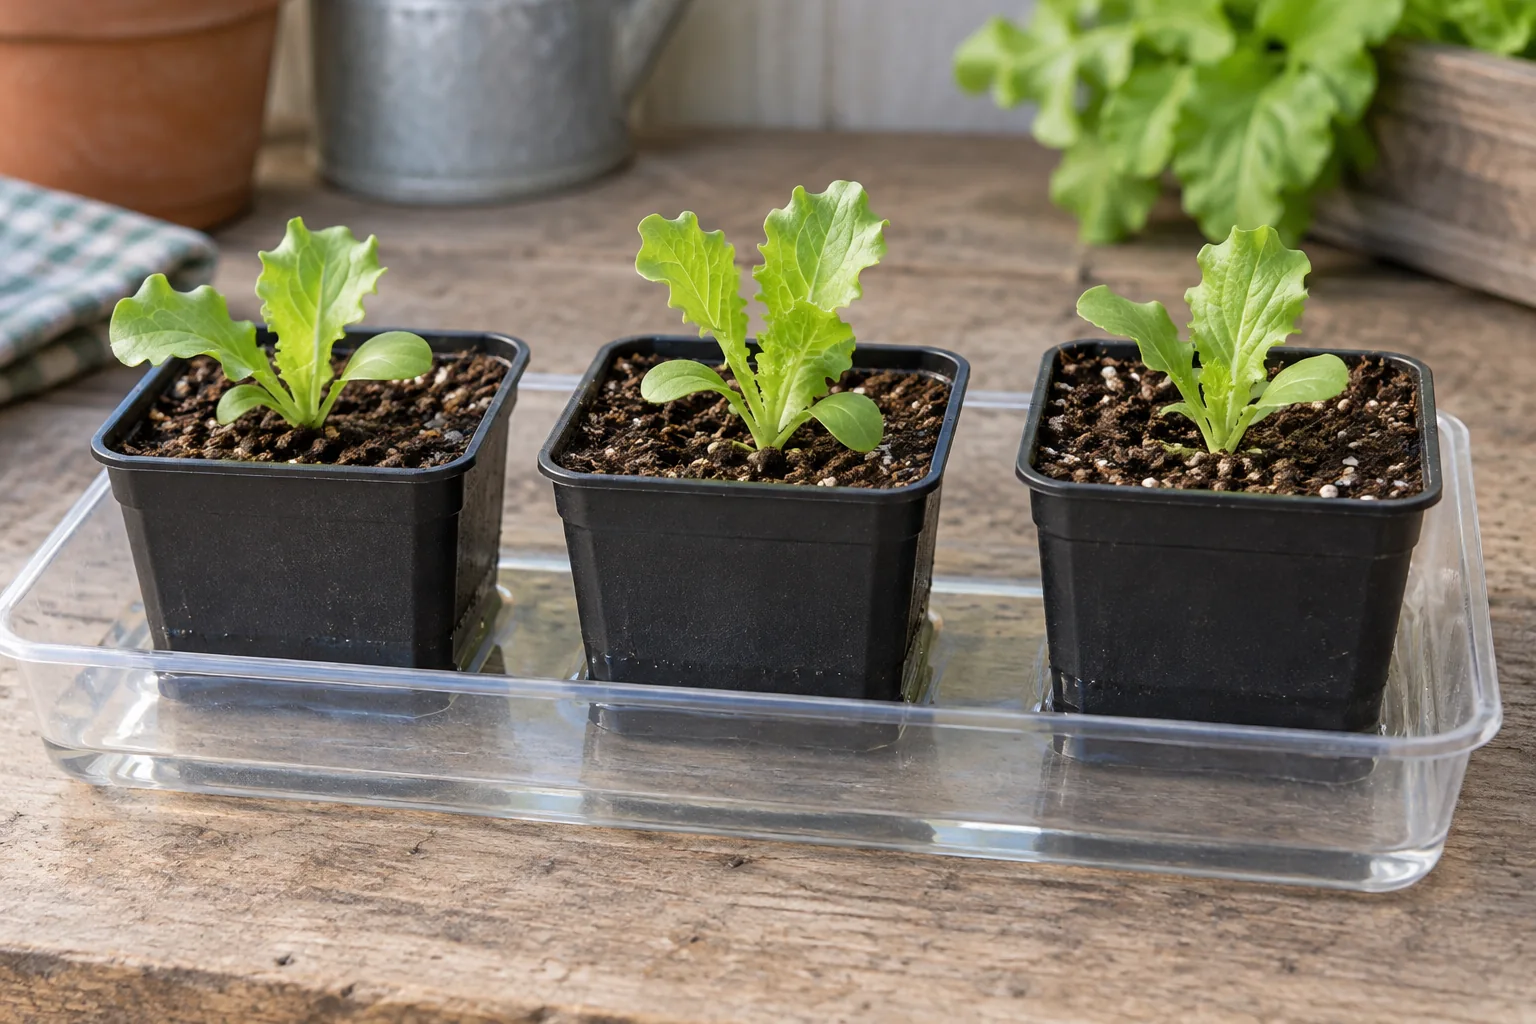
Bottom-watering lets a seedling’s growing mix draw moisture through holes in the base of its pot. The useful habit is to check that moisture actually reaches the mix, then remove the excess water. Leaving an ordinary nursery tray in a bath overnight is not the same as using a purpose-built reservoir planter.
Check the mix before adding water
Look at several cells or pots, especially those at the edges. During germination, the seed zone must stay moist. Once seedlings are growing, inspect both the surface and the moisture below it before watering. Minnesota Extension warns that misting can leave the inside of a container dry even when its surface looks wet. The opposite mismatch also matters: a lighter-colored surface does not prove that the whole pot is dry.
Lift a small pot gently to compare its weight with the same pot after watering and draining. Feel an accessible patch of mix without digging through the seedling’s roots. Use those observations together; neither color nor weight alone is a calibrated moisture reading. Separate pots with clearly different needs rather than assuming every plant in a flat needs a drink.
Make a temporary watering station
Maryland Extension describes a shallow layer of water in a watertight tray from which the mix draws water through drainage holes. Use clean small pots or cell packs with open holes, a clean outer tray and plain clean water. Set the pots firmly down so the bases contact water. A pot held above the water cannot wick from it, and a pot without holes will not work.
- Add a shallow layer to the outer tray; do not submerge the pots or float them.
- Set in the pots that need watering. Keep foliage and the tops of the mix above the water.
- Check whether the mix is becoming evenly moist. Look at more than one cell, including an edge cell.
- Remove a pot when moisture has reached the mix sufficiently; do not wait for water to pool on its surface.
- Let the pots drain, empty the outer tray and return them to their growing position.
Minnesota specifically advises draining excess tray water with either top- or bottom-watering. This is a completed watering step, not a tray to keep topped up indefinitely. New Hampshire Extension emphasizes that waterlogged media reduce oxygen available to seedlings. The direction from which water enters does not make overwatering impossible.
Use a moisture check instead of a universal timer
Pot depth, mix and starting moisture differ, so there is no single soak time that proves every tray is ready. Stay nearby during the first session and record what you see. If you set a reminder, use it to prompt a check—not as permission to leave the pots soaking until a scheduled deadline.
| What you observe | Next step |
|---|---|
| Water remains, but the mix stays dry | Check open holes and contact between the pot base and the water. If the setup is not wetting evenly, stop and use gentle top-watering while checking drainage. |
| Some cells are moist and others remain dry | Remove ready pots where possible and assess the remaining cells individually. A shared tray does not ensure equal uptake. |
| Mix is evenly moist and pots feel heavier | Lift out and allow excess water to drain. Empty the tray before returning the pots. |
| Mix was already wet before the session | Do not add another soak. Review drainage and conditions before watering again. |
| A seedling has a soft, narrowed or collapsed stem | Separate the suspect pot and assess plant health; extra water is not a diagnosis. |
Do not share suspect irrigation water
Minnesota’s damping-off guidance notes that pathogens can move in shared irrigation water. Start with clean containers and fresh seed-starting mix, and keep suspect plants out of the communal watering tray. Soft or threadlike damage near the soil line deserves attention; bottom-watering does not cure an infected seedling.
Do not pour used water from a suspect tray into another healthy batch. Empty and clean the equipment before reuse, following the empty-container cleaning guide. If losses spread, record the crop, age, symptoms and growing conditions for local extension advice. Avoid reaching for fertilizer simply because a seedling looks weak.
Keep the next watering decision separate
After draining, return seedlings to their appropriate light and temperature conditions. Check again as the mix dries; do not assume tomorrow’s need will match today’s. Stretched stems and crowded cells require their own checks. More water will not correct every problem.
In your notes, record the container type, whether the mix wetted evenly and whether any pots needed separate attention. For a full sowing setup, use the seed-starting guide. For a permanent reservoir with a wick and overflow, use the self-watering container guide and the product’s instructions; that is a different system from this brief tray method.
Your next steps
0 of 5 steps checked · Saved on this device
Sources & further reading
Extension resources support the growing principles in this guide. Planning examples apply them to small container gardens. Local conditions and variety instructions take priority.
- Maryland Extension: indoor seedling watering
- Minnesota Extension: seed starting and draining tray water
- Minnesota Extension: damping-off prevention and shared water
- New Hampshire Extension: seed-starting media and moisture
Prepared with AI assistance; this is research-based guidance, not a personal growing trial. Editorial policy · Suggest a correction