THE SHORT ANSWER
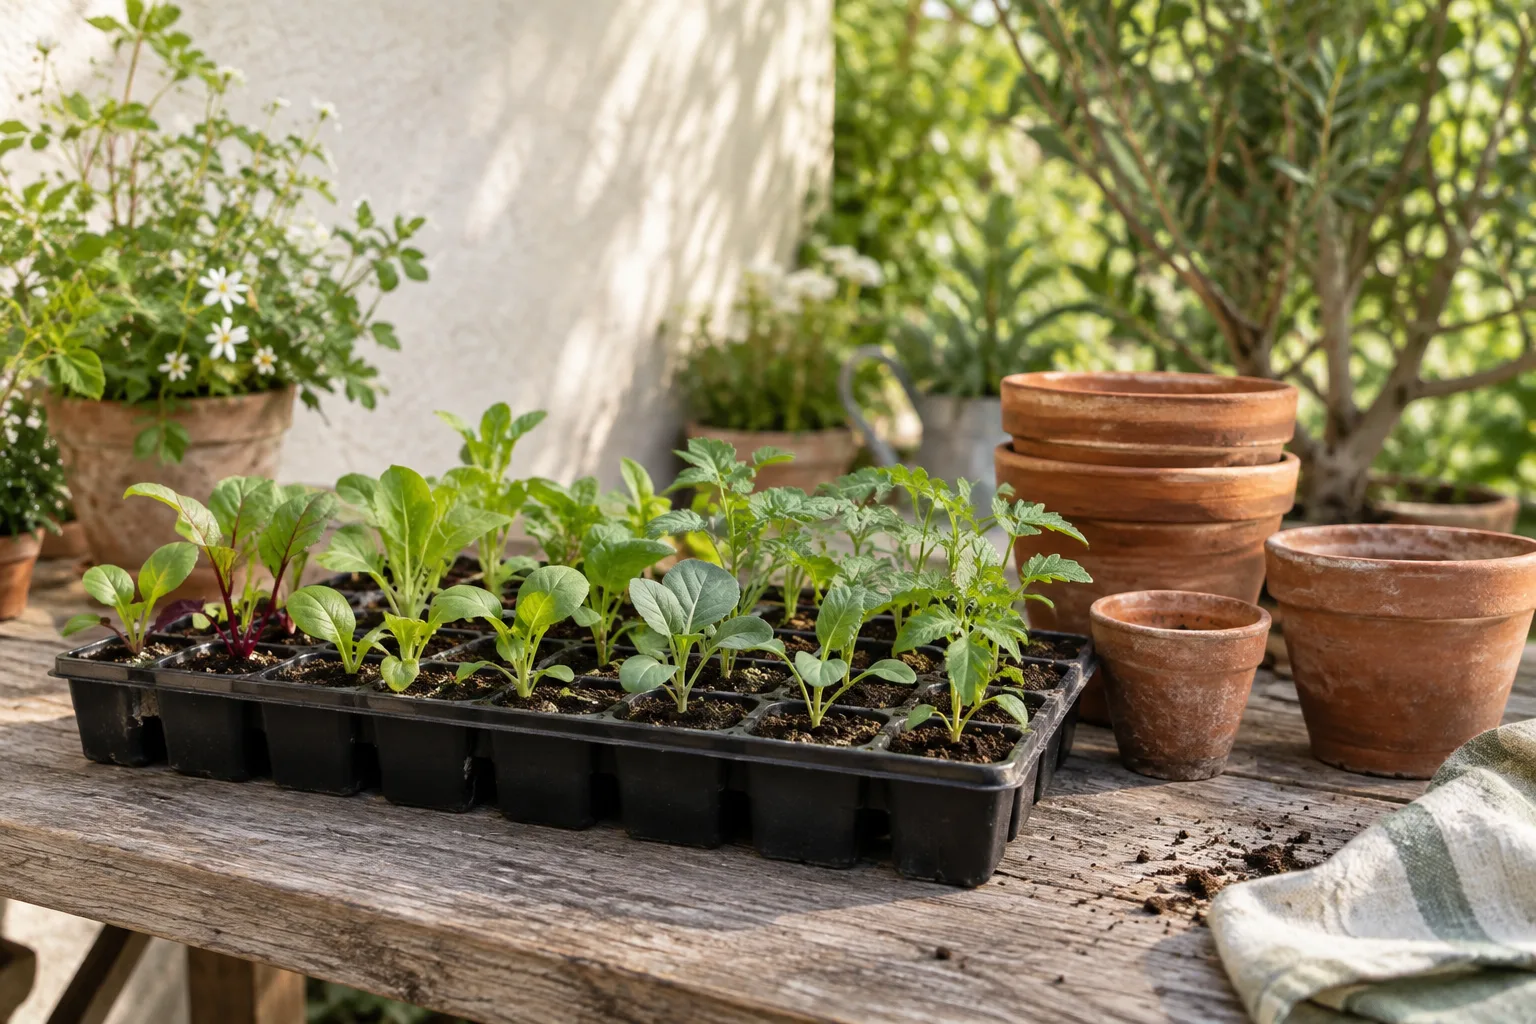
Start only as many plants as your final containers can hold. Use crop-specific sowing instructions, clean drained containers, appropriate seed-starting medium, and enough light after germination.
Work backward from the finished garden
Count your final planting spaces before sowing. If you have room for two pepper plants, a tray of thirty creates a placement problem rather than a head start. A small reserve can be sensible, but it should have a purpose.
Choose crops that benefit from starting indoors. Some vegetables are commonly sown directly where they will grow, especially when transplanting disturbs their useful roots. Read the seed packet and a crop-specific extension guide before deciding every seed needs a tray.
Set up labels and light before sowing
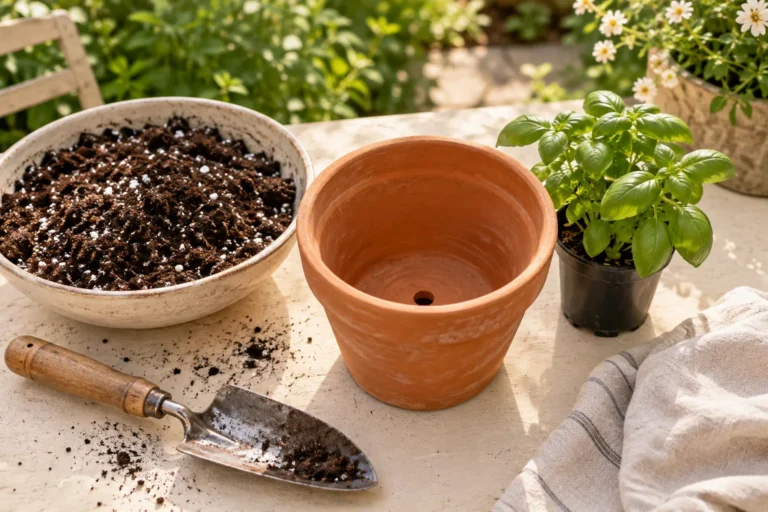
Prepare clean containers with drainage, suitable starting medium, and a place with adequate growing light. University of Minnesota Extension explains that seedlings need appropriate conditions after germination; a dim windowsill often produces weak, stretched growth.
Make a label with the crop, variety, and date before opening the packet. Keep the original packet too. Similar seedlings quickly become difficult to distinguish, and memory is less reliable than a waterproof label. A tray map is useful if several varieties share one setup.
Sow according to the crop
Follow the packet’s depth and germination guidance rather than applying one depth to every seed. Keep the seed zone appropriately moist while avoiding waterlogged conditions. Check often enough to notice emergence and adjust coverings and light as the seedlings develop.
Use a notebook entry that describes what happened: “first seedling appeared on day six” is an observation; “all seeds should germinate in six days” is an unsupported rule. Germination depends on the crop, seed quality, and growing conditions.
Plan the move outdoors
Seedlings grown indoors need a gradual transition before living in outdoor sun and wind. Leave space in your schedule for hardening off, and use the weather forecast rather than a calendar date alone to decide when a tender crop can stay out.
If a first tray becomes overcrowded or weak, review the light and sowing density before starting another. Buying a healthy transplant for one crop can be a sensible choice while you learn seed starting with another. The goal is a manageable garden, not proving that every plant began under your roof.
Your next steps
0 of 4 steps checked · Saved on this device
Sources & further reading
Extension resources support the growing principles in this guide. Planning examples apply them to small container gardens. Local conditions and variety instructions take priority.
Prepared with AI assistance; this is research-based guidance, not a personal growing trial. Editorial policy · Suggest a correction