
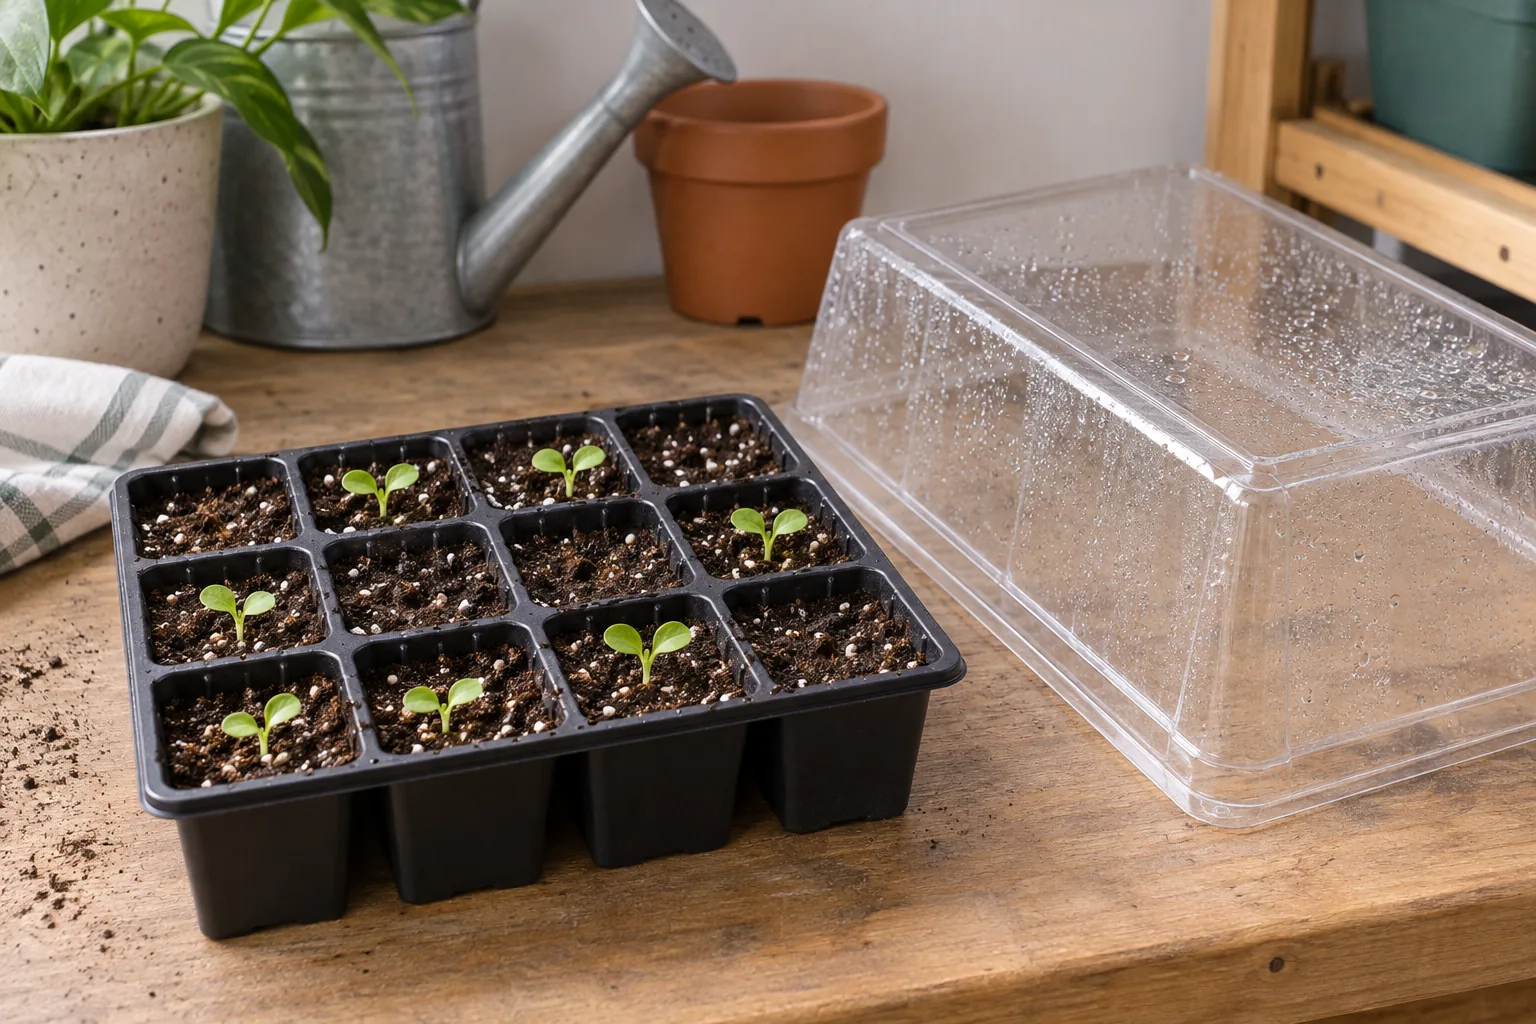
For ordinary vegetable and herb seed-starting trays, remove the humidity dome when the first seedling leaves appear. Do not wait for every cell to sprout. The cover helps conserve moisture during germination; after emergence, your job shifts to providing suitable light and checking the uncovered mix.
Use emergence as the trigger
University of New Hampshire Extension advises removing the cover as soon as the first seedling leaves appear. These early seed leaves are cotyledons, not the later true leaves. Check covered trays regularly so you notice the change. A fixed “leave it on for seven days” rule ignores differences between crops and batches.
Keep covered trays out of direct sun: New Hampshire warns that heat can build enough to kill seeds. Condensation on the lid is not a reading of moisture at every seed. Check the mix gently at an accessible edge; keep it moist during germination without flooding it.
Handle an uneven tray without covering the sprouts again
| What is in the tray | Next step |
|---|---|
| Several emerged seedlings, with other cells still quiet | Remove the common dome and monitor the unsprouted cells so their seed zone does not dry out. |
| Separate removable pots with different crops | Move emerged pots to their lighted growing position. Keep any remaining covered, unsprouted pots in appropriate germination conditions. |
| One fixed insert that cannot be separated safely | Leave the insert intact and the common lid off. Water only as needed; do not pull up young seedlings just to reorganize the tray. |
| No emergence yet | Check the packet’s expected germination period, temperature and moisture requirements before assuming a cover will solve the delay. |
For the next batch, group seeds with similar requirements in separate, labeled packs. That makes the cover decision easier. Keep a note of the first emergence date in your seed-starting record.
Check light and water after taking the lid off
Illinois Extension pairs cover removal with moving emerged seedlings into light. Provide a suitable seedling-light setup and follow the fixture’s distance guidance rather than copying a distance intended for another lamp. Tall, weak seedlings need a light and growing-condition check; replacing the dome is not a substitute.
The uncovered tray may dry differently. Look at multiple cells, including the edges, and use gentle watering when needed. Do not automatically add water just because you removed the cover. For a tray-watering method, follow the bottom-watering guide through its final draining step. For the whole sowing process, see starting seeds for pots.
Treat collapsing stems as a separate problem
Minnesota Extension describes soft, water-soaked or threadlike seedling stems as possible damping-off symptoms. Pathogens, wet conditions and other stresses matter; a dome alone does not establish the cause. Separate a suspect removable pot from healthy plants and seek identification if losses continue. Removing a lid does not cure an infected stem.
Start future batches with clean containers and fresh seed-starting mix, maintain drainage, and avoid sharing irrigation water with suspect plants. Use the empty-pot cleaning guide before reusing equipment. Photograph symptoms and note the crop, sowing date, moisture and light conditions for local extension help.
Your next steps
0 of 5 steps checked · Saved on this device
Sources & further reading
Extension resources support the growing principles in this guide. Planning examples apply them to small container gardens. Local conditions and variety instructions take priority.
- New Hampshire Extension: cover removal at first leaves
- Illinois Extension: emergence, light and moisture
- Minnesota Extension: recognizing and preventing damping off
Prepared with AI assistance; this is research-based guidance, not a personal growing trial. Editorial policy · Suggest a correction