
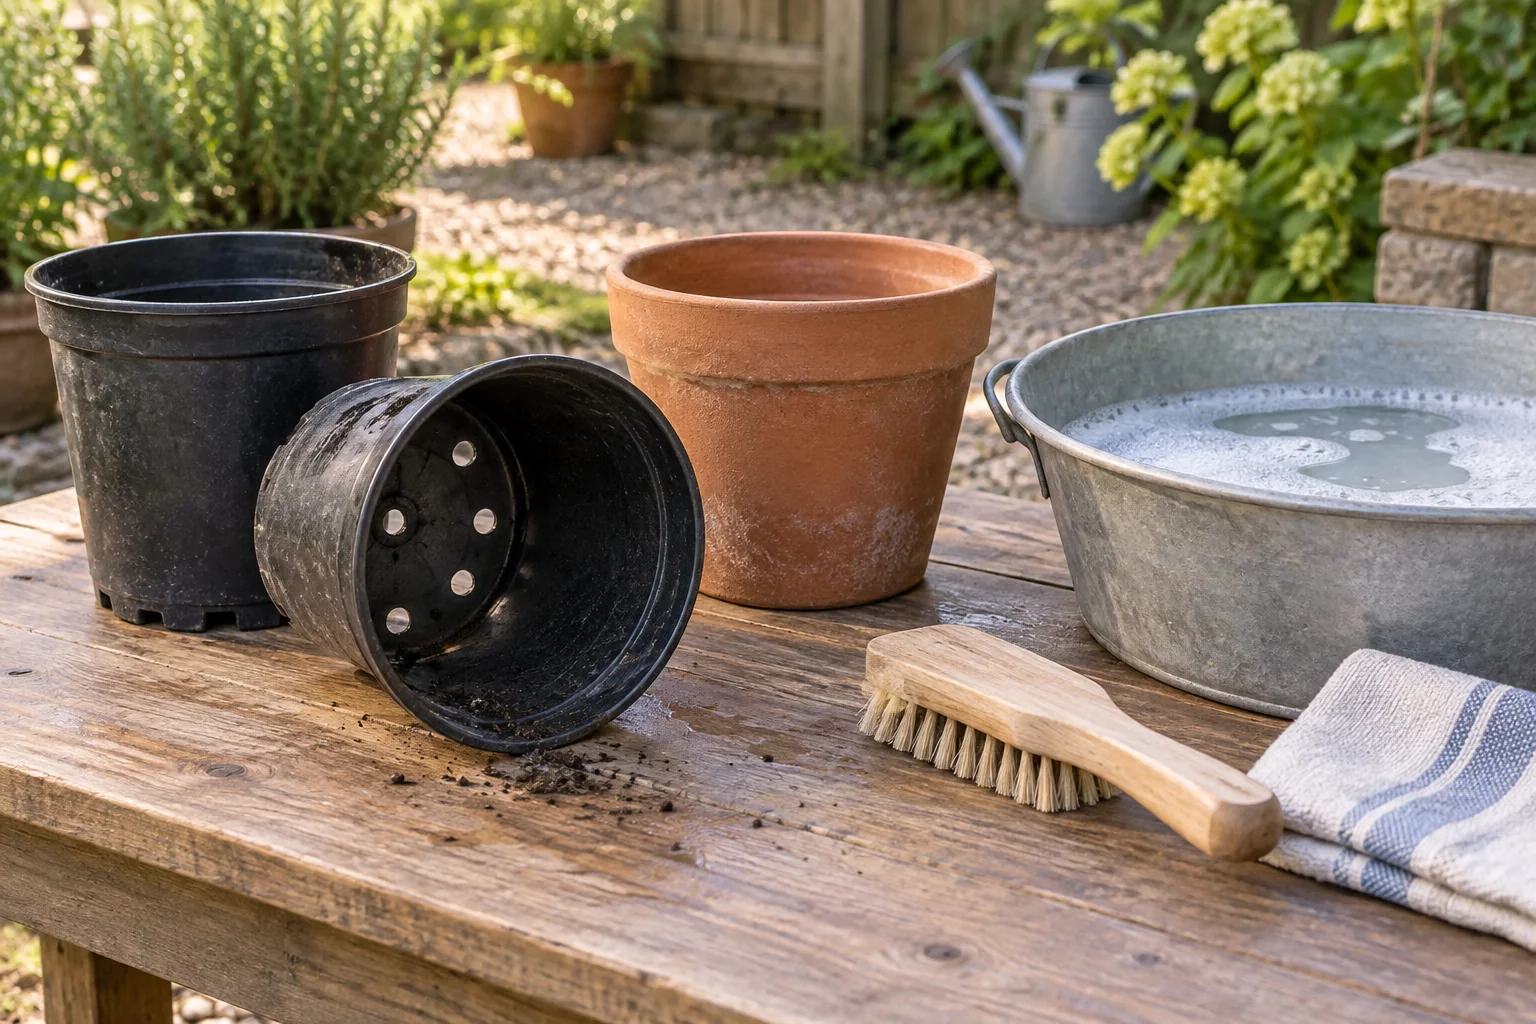
An empty pot is not necessarily ready for a new crop. Roots can hide under the rim, old mix can block drainage holes, and a container that looks tidy may still carry plant pathogens. Work through one small batch from dirty to ready, rather than putting washed and unwashed pots back into the same stack.
Decide which empty pots deserve another crop
Start with containers you have finished using. There is no need to uproot a healthy perennial just because autumn has arrived. Set aside its future repotting task, and use this routine for empty pots, trays and saucers. Decide separately whether their old potting mix can be reused.
| What you find | Decision before washing |
|---|---|
| Intact plant pot with known history | Remove the contents and include it in the cleaning batch. Keep a note if the previous plant had unexplained disease symptoms. |
| Cracked or brittle plastic; sharp broken edges | Retire it from food-growing duty. Cleaning does not repair failing material. |
| A repurposed container with a chemical-storage history | Do not turn it into a vegetable pot. Choose a suitable container with a known history instead. |
| Fabric bag, wood planter or reservoir system | Check the maker’s care instructions. Do not assume a hard-pot soak applies to every material or assembled part. |
Maryland Extension warns against former chemical containers and degraded plastic for edible crops. It also notes that moisture and freezing can crack unglazed terracotta. Where winter freezes occur, include a protected storage location in your plan before you clean a large stack.
Set up a one-way washing area
Mark three places on the work surface: awaiting washing, washed and ready for disinfection, and finished. A few washable trays can separate them. Keep new growing medium and seed packets away from splash. Put the matching saucer beside each pot so it receives the same attention.
- Empty loose roots and mix into the appropriate collection container. Do not combine questionable material with a batch you have already approved for reuse.
- Brush off remaining debris. Inspect the rim, feet, drainage openings and saucer; remove trapped roots before wet cleaning.
- Wash the inside and outside with detergent and water. Choose a brush that will not damage the pot.
- Rinse off the wash solution and inspect again. If dirt remains in a crevice, return to cleaning before proceeding.
The order matters: Minnesota Extension explains that soil and debris reduce the effectiveness of disinfection. Washing removes material; disinfection is a separate step aimed at plant pathogens. Neither appearance nor a quick spray proves that every organism is gone.
Choose one complete disinfection method
Iowa State’s hard-container method starts with washed, rinsed pots, then a soak using one part household bleach to nine parts water for at least ten minutes, followed by rinsing. Its instructions also say to add bleach to the water and use the prepared solution within two hours. Read the original method and your product label before choosing it: bleach strengths and formulations vary.
A 1:9 recipe means ten equal parts total. For example, 100 mL of the specified bleach product plus 900 mL water makes 1,000 mL of solution. “10% bleach solution” describes the fraction of the original product, not 10% active sodium hypochlorite. This calculation does not make every bleach formulation interchangeable. If the label does not support the intended use or conflicts with the method, ask your extension office for a suitable procedure.
Use the ventilation and protective equipment specified on the label. Minnesota’s disinfectant precautions include keeping products away from children and never mixing disinfectants with other chemicals. Keep wash detergent and any acidic mineral-removal product out of the disinfectant bath. Never pour disinfectant into a planted pot or used growing mix.
For one awkwardly shaped pot, consult Iowa State’s alternative methods and material notes instead of improvising a stronger soak. White mineral crust is a separate cleaning issue; removing it does not establish disinfection. Our illustration shows washing equipment, not a prepared disinfectant bath.
Finish with a usable record and a dry storage place
Complete the method’s required rinsing and drying before storage. Keep finished pots apart from dirty equipment. Record the date, container group, product and method used; retain the label instructions. “Washed only” is a useful unfinished status when you have to stop halfway.
A simple inventory can prevent needless purchases: if you have eight empty pots but two are damaged and one is still awaiting cleaning, you have five ready candidates, not eight. Match their usable size to your next crop with the container-size guide. Check drainage again when you refill them, and start seed trays with appropriate fresh seed-starting medium.
Your next steps
0 of 5 steps checked · Saved on this device
Sources & further reading
Extension resources support the growing principles in this guide. Planning examples apply them to small container gardens. Local conditions and variety instructions take priority.
- Minnesota Extension: Cleaning and disinfectant precautions
- Iowa State: Cleaning and disinfecting plant containers
- Maryland Extension: Suitable containers and winter damage
Prepared with AI assistance; this is research-based guidance, not a personal growing trial. Editorial policy · Suggest a correction