
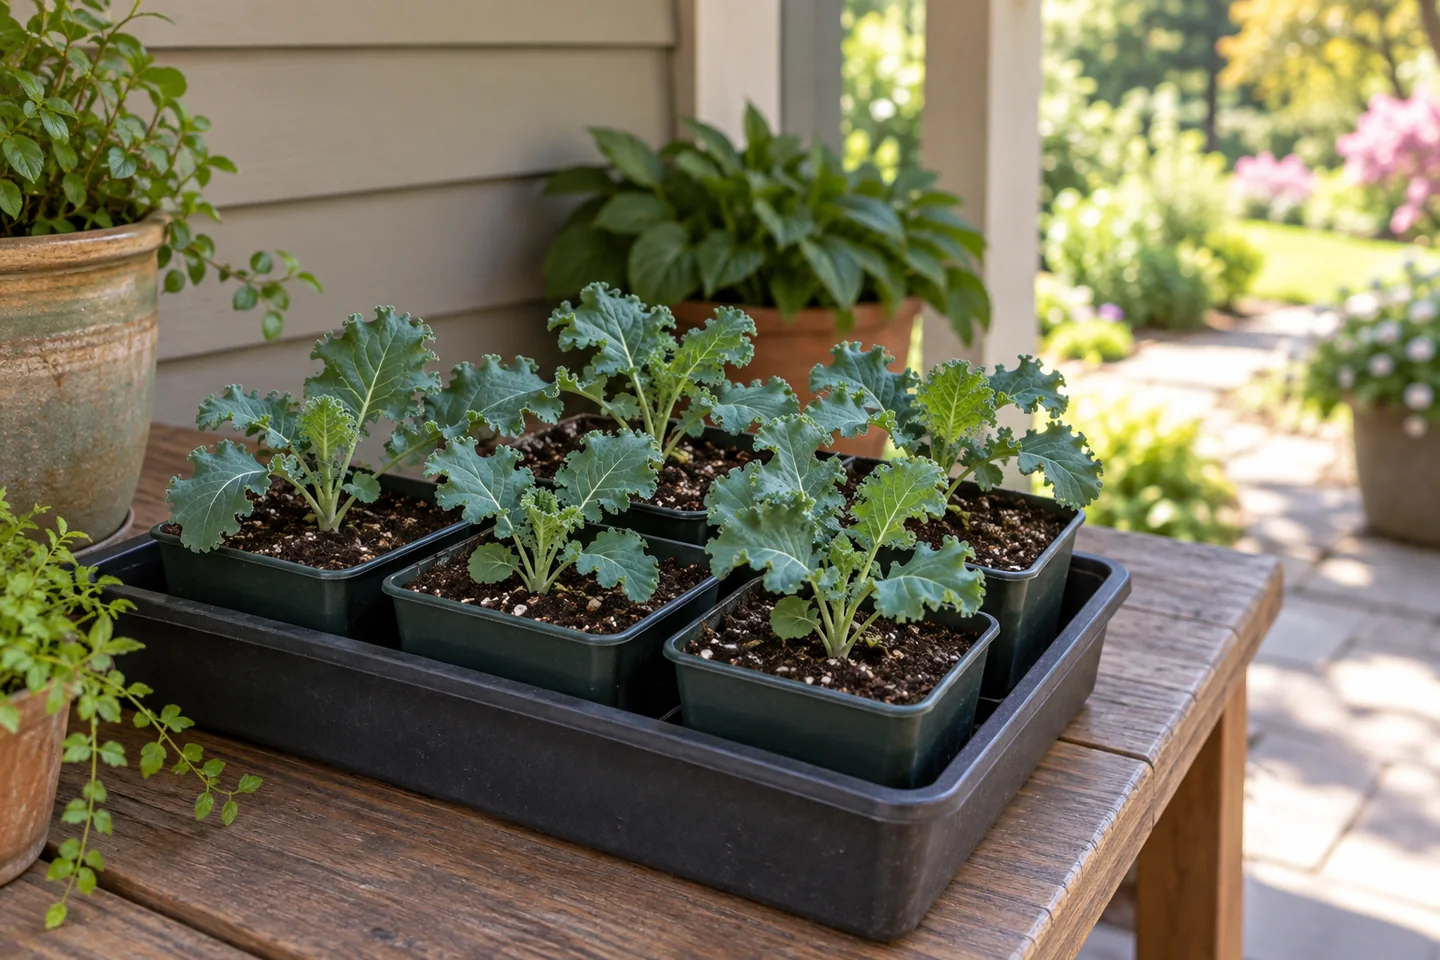
Hardening off is a gradual move from protected growing conditions to outdoor light, wind, and temperature changes. Give yourself room to repeat a step or postpone planting. The aim is to arrive with sturdy plants, not to complete a fixed number of days regardless of the forecast.
Check the crop and its starting conditions
Illinois Extension recommends asking how nursery seedlings have been grown. Plants already accustomed to outdoor conditions may need less transition than a tray taken straight from a greenhouse. Ask about recent sun exposure and overnight protection, then compare that with your own planting site.
Keep the crop label with the tray. Cool-season lettuce and warm-season peppers are different projects, even if their pots are the same size. Illinois’s hardening-off guide distinguishes cold-tolerant crops from tender warm-season vegetables and recommends beginning the process about two weeks before planting. Hardening does not make a frost-tender crop safe in a freeze.
Prepare two places before the first trip
Choose a sheltered outdoor starting position and a protected place to return the tray. Use a stable carrier so individual pots cannot tip or roll. Check the route through the doorway before filling both hands, and keep plants back from an exposed railing or shelf edge.
The first outdoor position should provide shade and shelter from strong wind. Confirm the shade remains there during the planned visit: a porch that is shaded early can be exposed later. Our sunlight record can help you notice that change. Set a reminder to bring the tray back while you can still check it.
Use a flexible progression
Illinois suggests starting with about two to three hours outside and increasing exposure gradually. Penn State’s transplanting guidance likewise favors sheltered visits on mild days over roughly 10–14 days, while warning against windy conditions and wilting. The table below is an illustrative way to organize that gradual change, not a tested universal schedule.
| Stage | Example visit | Before moving on |
|---|---|---|
| First visits | About 2 hours in a sheltered, shaded position during suitable mild weather. | Check leaves and mix during the visit and after returning to protection. |
| Longer visits | Try 3–4 hours, introducing a little gentler morning sun when tolerated. | Repeat or shorten the visit if the plants show stress. Avoid increasing sun and wind exposure sharply together. |
| Most of the day | Gradually work toward the light and duration expected at the final site. | Recheck water, tray stability, and the forecast. A longer visit is optional when conditions worsen. |
| Outdoor nights and planting | Only after daytime adjustment, when the crop and forecast permit. | Have protection available and the final containers prepared. Do not leave tender plants out merely to finish the chart. |
Pause when the conditions change
A calendar is useful for planning; a weather check decides what happens today. Penn State cautions against putting tender seedlings outside below 45°F or on windy days. Treat 45°F as a caution from that general guide, not proof that every crop is comfortable at 46°F. Follow crop-specific advice when it calls for warmer conditions.
- If stronger wind or heavy rain arrives, return the tray to shelter rather than leaving it to prove its toughness.
- If leaves wilt, shorten exposure and check the growing medium before watering. A wet root zone is not helped by adding water automatically.
- If leaves develop pale or brown patches, pause the increase in sun and inspect the plant. Damage has several possible causes; a patch is not a diagnosis by itself.
- If the forecast turns unsuitable for the crop, delay the final move and maintain appropriate light and care in protection.
Illinois advises against allowing plants to wilt during hardening. Check small cells directly; the surface and root ball may not dry at the same rate. Use our watering checks if it is unclear whether a pot is dry or staying wet.
Keep a record that makes the next visit easier
Write five things after each outing: time outside, location and sun exposure, weather, mix condition, and the plant’s response. For example, “2 hours, porch shade, calm, mix still moist, leaves upright” describes an observation you could make; it is not a result from a Harvest in Pots trial. Choose the next visit using that record.
Before transplanting, have the final container, growing mix, labels, and any support ready. Handle plants carefully and keep observing after planting. For fall starts, also check remaining growing time; acclimation cannot add daylight or postpone winter.
Updated September 30, 2026: Added a staged exposure example, weather-based stopping points, and an observation record.
Your next steps
0 of 5 steps checked · Saved on this device
Sources & further reading
Extension resources support the growing principles in this guide. Planning examples apply them to small container gardens. Local conditions and variety instructions take priority.
- Illinois Extension: Is it time to plant?
- Illinois Extension: Hardening off indoor seedlings
- Penn State Extension: Transplanting annuals into the garden
Prepared with AI assistance; this is research-based guidance, not a personal growing trial. Editorial policy · Suggest a correction