
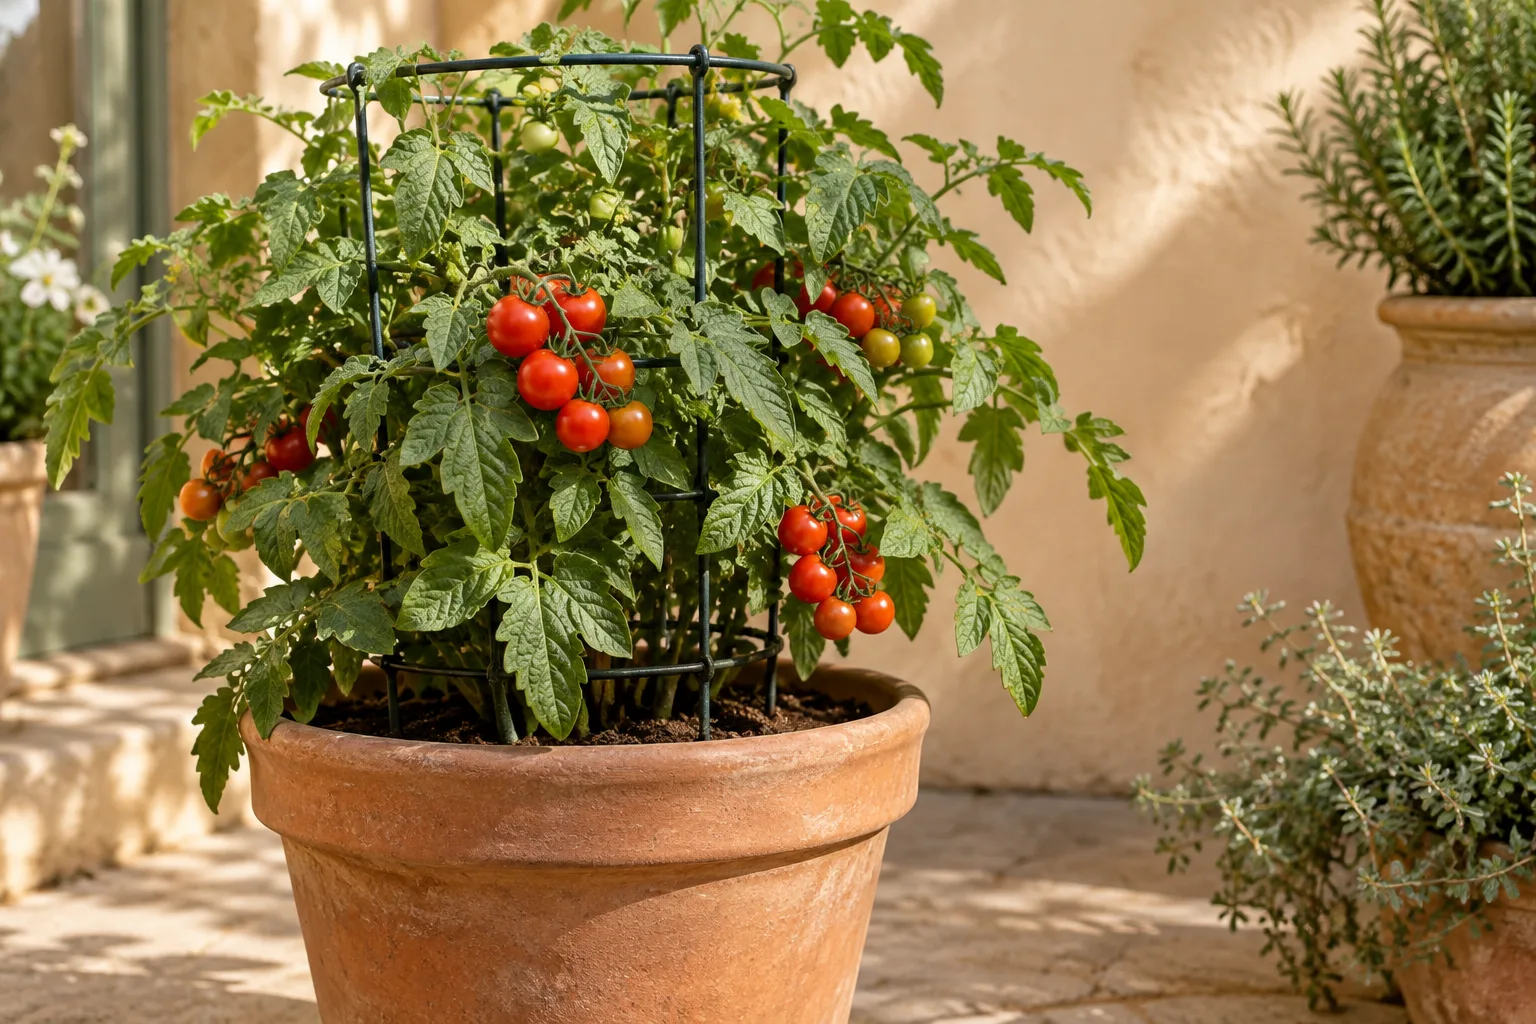
A manageable tomato project starts with the variety and available space. Choose one plant, a container that fits its mature growth, and a support you can reach around. Then build the care routine around moisture, growth, and weather rather than a fixed daily dose of water.
Read plant size before fruit size
“Cherry” describes the fruit, not necessarily a small plant. A cherry tomato can grow into a vigorous vine. Read the named variety’s mature dimensions and growth habit. Determinate plants have a more limited growth habit; dwarf or patio selections can be useful where space is tight. Iowa State’s container guide discusses suitable tomato types.
| What the label tells you | What to plan |
|---|---|
| Dwarf or patio habit | Check the named variety’s container recommendation and support needs. |
| Determinate or bush habit | Reserve space for its stated mature width as well as the pot. |
| Indeterminate or vining habit | Plan sustained vertical growth, a substantial support, and harvesting access. |
Choose a generous pot and a reachable support
For a compact plant, a five-gallon or larger container is a practical starting plan when the variety permits it. A vigorous standard plant deserves more space; Maryland’s large-vegetable category uses 8–10 gallons and 12–16 inches of depth. Those are planning ranges, not promises that every variety will perform in the same volume. Use the container measurement guide before shopping.
Lay out the empty pot and cage together. Open the nearby door, reach the watering point, and check how you will pick fruit at the back. Set a freestanding support where wind cannot easily tip the arrangement; confirm building rules before attaching anything to a structure. Install it at planting, while you can avoid an established root system.
Plant when conditions suit tomatoes
Minnesota Extension recommends transplanting after frost danger has passed and the soil has warmed. Use your local planting guidance rather than copying Minnesota’s calendar. Gradually acclimate an indoor-grown plant before it lives on an exposed patio. Full sun matters: Iowa State recommends at least six direct-sun hours for tomatoes.
Use a drained container and a suitable potting mix. Keep the variety and mix labels, and record the planting date. If the mix contains fertilizer, note its directions before adding another product. One plant per pot gives a first-time grower a simpler watering and support arrangement than several crowded together.
Separate routine care from troubleshooting
| During an ordinary check | If something looks wrong |
|---|---|
| Feel moisture and inspect the outlet | Wilting in wet mix needs investigation before more water. |
| Look at ties and support | Loosen constricting ties and address instability while you can reach it. |
| Inspect leaves and developing fruit | Record where damage starts and whether it is spreading. |
| Review the feeding record | Check the label and previous applications before increasing fertilizer. |
Water the growing medium thoroughly when needed and allow drainage. Aim for reasonably even moisture rather than repeated severe drying followed by saturation. The watering guide explains how to check a dry center even when water runs out of the pot. Follow the selected fertilizer’s container directions using the feeding worksheet.
Understand a dark patch at the blossom end
A dark, leathery patch at the end opposite the stem can be blossom-end rot. The Morton Arboretum explains that calcium may fail to reach developing fruit when water supply is disrupted. It is a physiological disorder, not a contagious infection. Container mixes can also have nutrient limitations, so inspect moisture management and the mix information rather than assuming the diagnosis proves one particular deficiency in the bag.
Compare clear photographs with the source before treating the plant. Ask local extension about persistent problems using the variety name, pot volume, mix, and watering record. Avoid adding several calcium or fertilizer products on the strength of one photograph; identifying the cause is more useful than changing every part of care at once.
Harvest for your variety, then review the setup
Use the variety description to recognize the intended ripe color and fruit size. Inspect behind foliage so ripe fruit does not remain hidden. Keep any harvest notes in your own terms: dates, usable fruit, and what interrupted growth. A small container project does not come with a guaranteed number of pounds.
Before the next season, ask which part demanded the most attention. Was the support too wide for the walkway? Did the pot dry before you could check it? Did the chosen variety outgrow its space? Change the relevant part of the setup rather than assuming every disappointing fruit requires a new fertilizer. For end-of-season cold, use the frost-night plan.
Updated September 26, 2026: Added growth-habit comparisons, a care checklist, and sourced blossom-end-rot guidance.
Your next steps
0 of 5 steps checked · Saved on this device
Sources & further reading
Extension resources support the growing principles in this guide. Planning examples apply them to small container gardens. Local conditions and variety instructions take priority.
- Iowa State Extension: Tomatoes in containers
- Maryland Extension: Types and sizes of vegetable containers
- Minnesota Extension: Growing tomatoes
- The Morton Arboretum: Blossom-end rot
Prepared with AI assistance; this is research-based guidance, not a personal growing trial. Editorial policy · Suggest a correction