
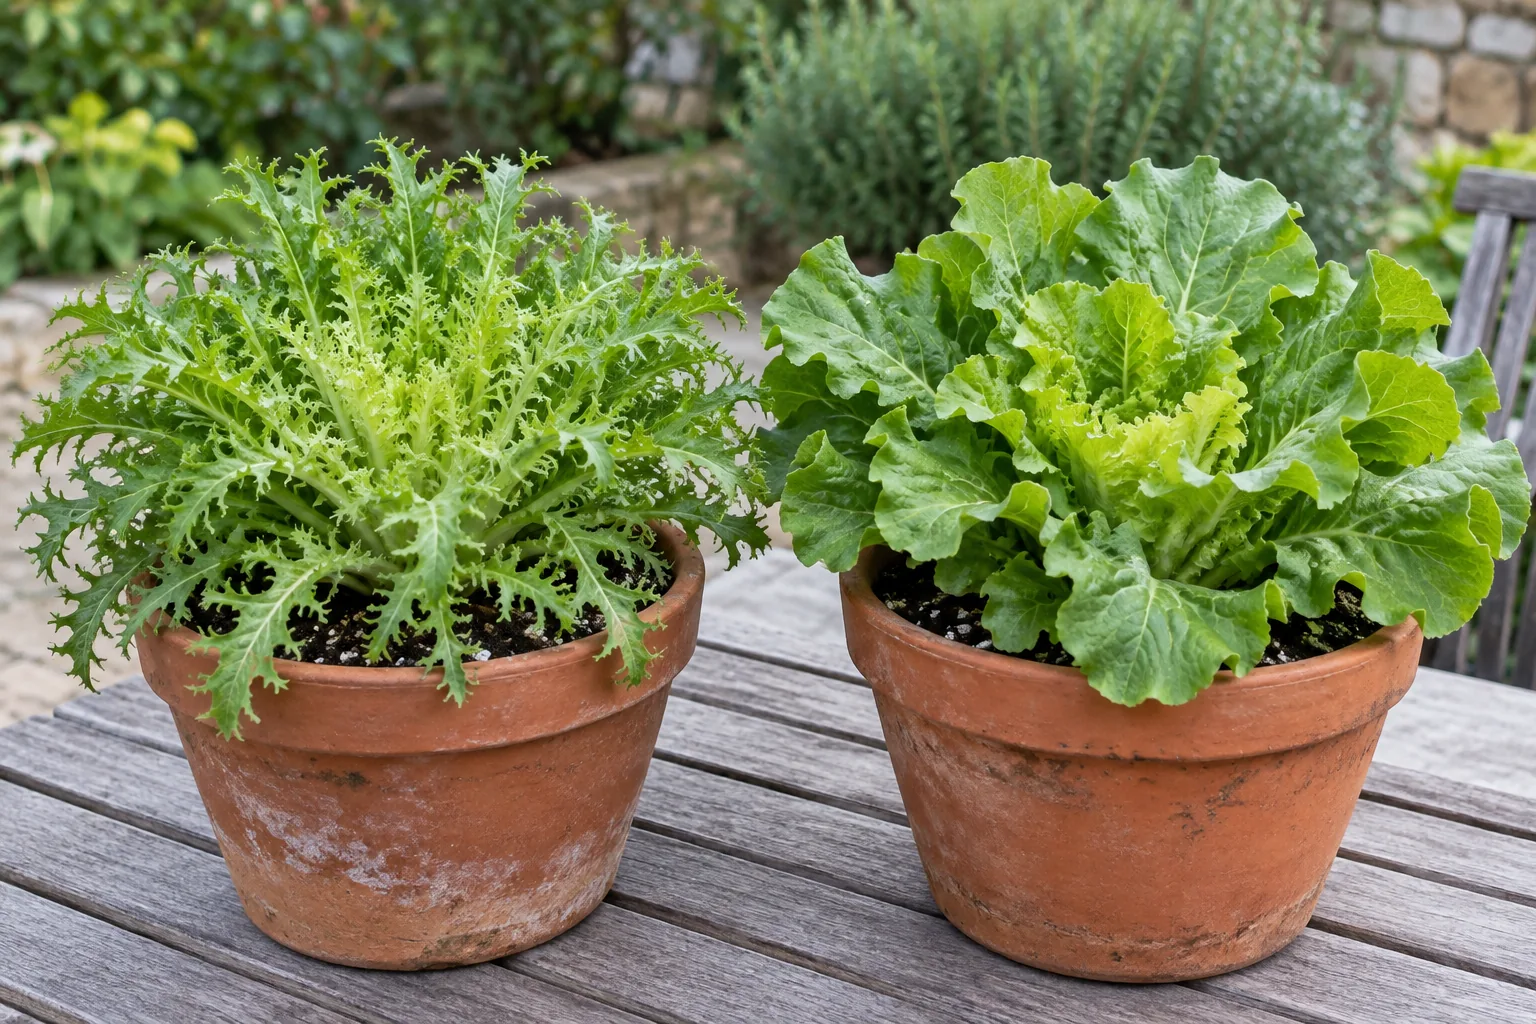
Endive and escarole can add a pleasantly bitter leaf to a container salad garden. Decide first whether you want small leaves or a whole head. That choice changes the spacing, the number of plants worth keeping and how long the pot stays occupied.
Choose curly endive or broadleaf escarole
Wisconsin Extension identifies endive and escarole as forms of Cichorium endivia. Curly endive, often called frisée, has finely divided, frilly leaves. Escarole has broader leaves. Both differ from the tightly packed, pale Belgian endive heads produced by forcing chicory roots; an ordinary patio sowing is not that process.
| Your goal | Plan the pot around it |
|---|---|
| Tender young salad leaves | Choose a baby-leaf harvest and retain closer spacing suited to that use. |
| One developed curly endive or escarole head | Leave room for the mature rosette; do not keep every seedling. |
| Pale Belgian endive chicons | Choose a separate chicory-forcing project, not this growing method. |
For a first attempt, keep one variety in each container. Photograph the packet and note whether its instructions describe baby leaves or mature heads. If you prefer a milder salad, combine small amounts with container lettuce at serving time rather than expecting all endive varieties to taste like lettuce.
Prepare a container for the intended harvest
The RHS suggests a pot 12–16 inches across for endive. One full-size plant in a pot around the upper end of that range is an easy arrangement to manage. This deliberately simple layout is not a maximum-capacity calculation. For depth, Colorado State’s general salad-container guidance uses 6–12 inches; choose the deeper end for a developed plant, with room for mix below the roots.
Use a prepared potting mix and open drainage holes. Moisten the mix before sowing. A pot’s outside height includes its base and rim: measure the actual depth of growing medium rather than reading only the store label. Empty standing water from a saucer instead of allowing the pot to sit in it.
Sow for cool growth, then thin deliberately
Use the seed packet’s sowing depth and variety-specific timing. The RHS recommends cool-season growth and consistent moisture; heat and dry conditions can encourage bolting. Young plants exposed to prolonged cold can also flower prematurely. A fall calendar date alone therefore does not establish a good sowing window. Ask local extension about timing for your part of the United States.
Utah State’s leafy-green spacing guide distinguishes small-leaf production from heading crops. Its field guidance gives endive about 8–12 inches between plants, with spacing adjusted to harvest size. Field row distances are not a formula for fitting multiple heads into one round pot. Use the packet and the mature canopy as your guide.
If keeping one head, choose a healthy central seedling and remove the extras. If growing baby leaves, label that intention and thin according to the seed supplier’s directions. Do not postpone the decision until a dense group of seedlings is competing for the same space. The thinning guide explains how to keep the remaining roots undisturbed.
Pick leaves or cut a head
The RHS describes both repeated young-leaf harvests and whole-head harvesting. For small pickings, retain the growing center and enough foliage for recovery. For a head, cut when it has reached the size and quality you want, removing damaged outer leaves. Keep a record of the actual time to harvest; weather and variety make a fixed nationwide harvest date misleading.
Colorado State recommends regular moisture checks and fertilizer decisions based on the mix’s nutrients and plant vigor. A pause in growth is a reason to inspect conditions, not automatically to double the feed. Check the underside of leaves and sheltered places around the pot if foliage is being eaten.
Blanching is optional
Here, blanching means excluding light from the center to make paler, less bitter leaves, not boiling them. The RHS describes loosely tying dry mature leaves together and harvesting after roughly two weeks, longer in cool conditions. Inspect for rot and slugs, and use the blanched crop promptly. Leaving the head green is a valid, simpler choice.
For a first container, taste the unblanched leaves before adding another task. Record whether you preferred young leaves, a larger head or a paler center. That comparison gives the next planting a purpose without filling every available pot with the same experiment.
Your next steps
0 of 5 steps checked · Saved on this device
Sources & further reading
Extension resources support the growing principles in this guide. Planning examples apply them to small container gardens. Local conditions and variety instructions take priority.
- RHS: Growing endive
- Utah State: Leafy-green planting and spacing
- Wisconsin Extension: Salad greens
- Colorado State: Container salad greens
Prepared with AI assistance; this is research-based guidance, not a personal growing trial. Editorial policy · Suggest a correction