
A pot does not automatically keep slugs away from seedlings and salad greens. Before buying a barrier, inspect the damaged plants after dark and check the sheltered places around their containers. The goal is to confirm what is feeding, reduce convenient hiding places, and see whether new damage slows.
Look for the animal as well as the holes
Minnesota Extension describes irregular feeding holes and dried slime trails as useful signs. Slugs often feed in cool, damp conditions at night, though they may be active in shaded places during the day. Young seedlings can suffer more than established plants. Holes alone do not identify the culprit; look closely before deciding what to control.
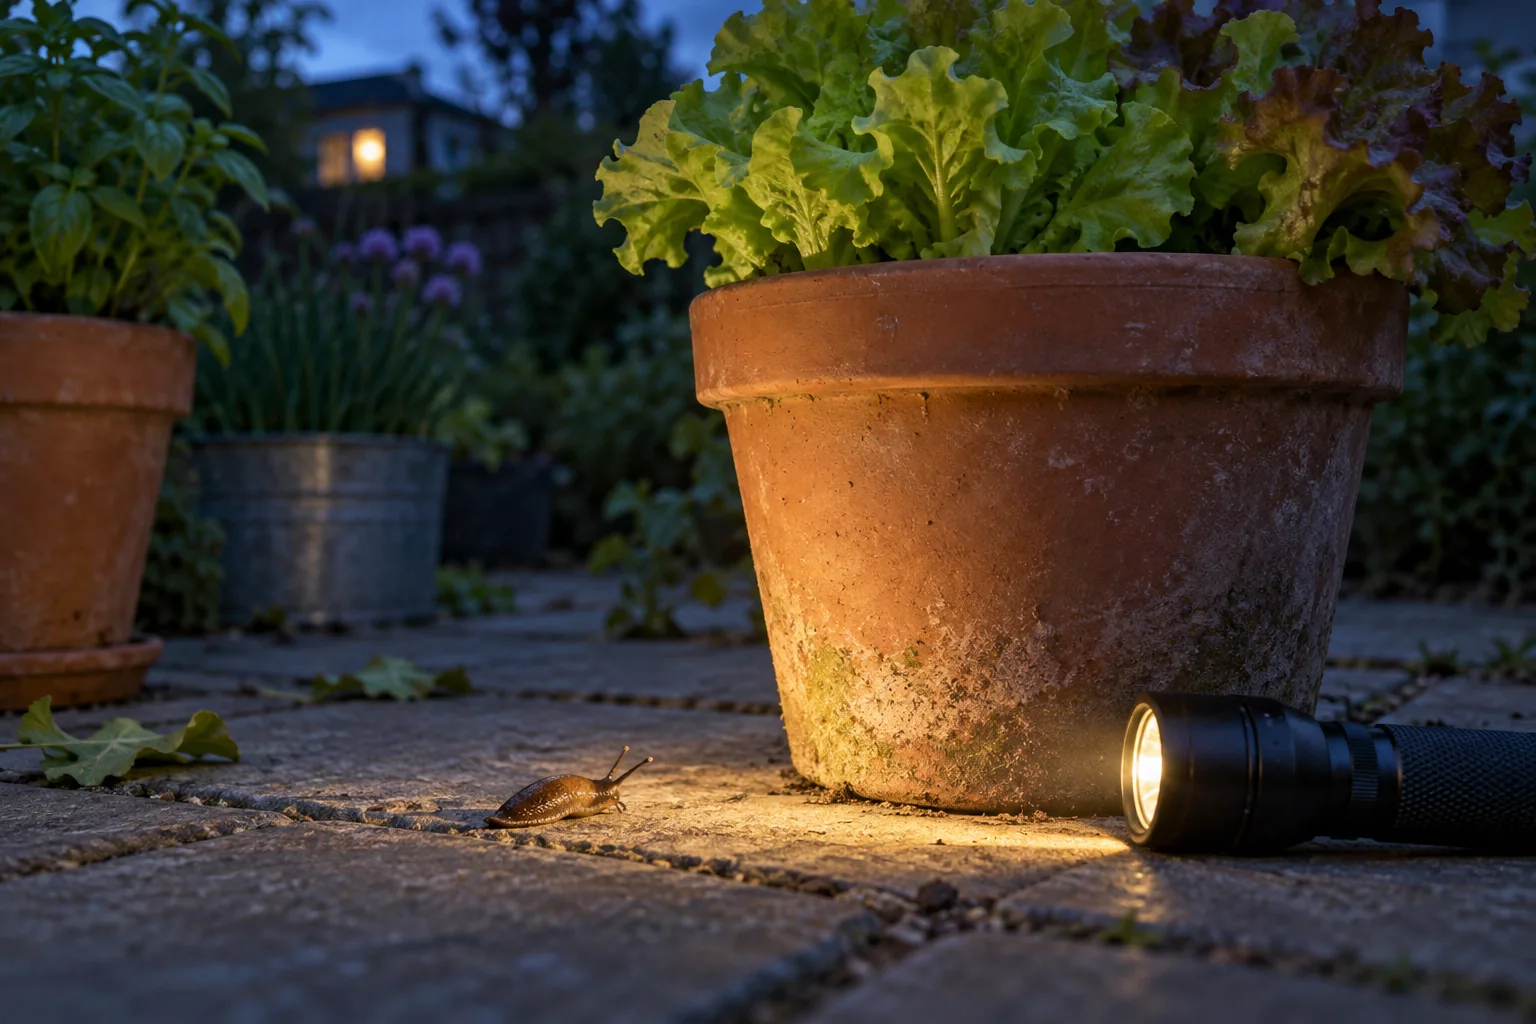
Take a flashlight outside near dusk or after dark. Inspect leaf undersides and the surface beneath damaged leaves. If you can move the pot safely, check underneath it and behind the rim. UC nursery guidance specifically identifies pot undersides, sheltered container sides and growing media as scouting locations. Do not tilt a heavy watered planter by yourself just to finish an inspection.
Photograph what you find, including the whole plant and a close view of the animal. The featured image here illustrates an evening inspection; it is not a diagnostic photograph of a particular slug species. If feeding continues without a clear culprit, use your own photographs when asking local extension for identification.
Make a short inspection route
| Where to look | What to record |
|---|---|
| Damaged leaves and the plant center | Fresh holes, damaged new growth, visible animals or trails. |
| Pot rim, base and nearby supports | Sheltered damp areas and slugs found there. |
| Loose boards, unused pots and fallen leaves nearby | Hiding places that can be removed or checked regularly. |
| The same plants on the next visit | Whether additional leaves are being damaged; old holes will remain. |
Inspect newly purchased plants and their containers before placing them among vulnerable seedlings. UC’s nursery guidance recommends checking incoming plants and keeping growing areas free of clutter. For a patio, concentrate that cleanup around the pots you are protecting. You do not need to strip every sheltered place from the entire garden.
Reduce damp hiding places while meeting plant needs
Remove unused pots, scraps and accumulated debris immediately around affected containers. Check remaining shelters regularly. Minnesota recommends morning watering directed at the root zone rather than wetting the foliage. That can reduce damp surfaces overnight. It does not mean withholding water from a thirsty crop or letting newly sown seeds dry out.
Check the pot’s moisture needs and its drainage separately. A lettuce container needs reliable moisture even when the surrounding patio should be allowed to dry. Keep a note of rain or irrigation before each inspection so a change in weather is not mistaken for proof that a treatment worked.
Remove confirmed pests and recheck
UC IPM recommends repeated handpicking as part of a combined approach. Wear gloves, collect confirmed pest slugs into a container, and follow its disposal guidance; one option is soapy water in a separate bucket, away from plants. Keep that water out of the planting mix. Do not sprinkle salt around the pot—UC warns that it increases soil salinity.
Return to the same affected plants on subsequent evenings. Compare new growth and fresh damage with the earlier photographs. If several pots are affected, label your notes by pot rather than recording only a total for the whole patio. Old damaged leaves cannot show whether the current feeding has stopped.
Treat copper and home remedies as uncertain barriers
Copper appears in extension recommendations, but performance depends on the setup. An RHS trial tested 108 lettuces in patio pots and raised beds for six weeks. Copper tape, eggshells, bark, grit and wool pellets did not reduce damage compared with unprotected plants under those trial conditions. The researchers also noted other evidence suggesting copper could sometimes work. That supports caution, not a claim that every copper barrier always fails.
If you already have a barrier, keep inspecting the protected plants. Do not treat an intact-looking ring as evidence of protection, or spend more on layers of remedies while new leaves disappear. The practical test is continued observation of the crop, with weather and other changes recorded.
Escalate only after identifying the problem
If confirmed feeding keeps damaging new growth despite these steps, consult local extension about options appropriate to your edible crop. UC notes that bait alone cannot provide lasting control where shelter and moisture remain. Any pesticide must be labeled for the intended crop and use; follow its directions, storage precautions and any harvest restrictions. A product described as lower risk is not permission to leave it accessible to children or pets.
Keep the inspection record with your garden notes. For a struggling seedling, document what happened to its growing center as well as its leaves. That helps separate a plant that can keep growing from one that needs replacement, without promising a particular recovery.
Your next steps
0 of 5 steps checked · Saved on this device
Sources & further reading
Extension resources support the growing principles in this guide. Planning examples apply them to small container gardens. Local conditions and variety instructions take priority.
- Minnesota Extension: signs and nonchemical management
- UC IPM: home garden slug management
- UC IPM: scouting and sanitation around containers
- RHS: results and limits of its barrier trial
Prepared with AI assistance; this is research-based guidance, not a personal growing trial. Editorial policy · Suggest a correction