THE SHORT ANSWER
A gravel layer is not a substitute for drainage holes and suitable potting mix. For ordinary containers, keep the outlet open and use the growing medium through the root zone.
Begin with a working outlet
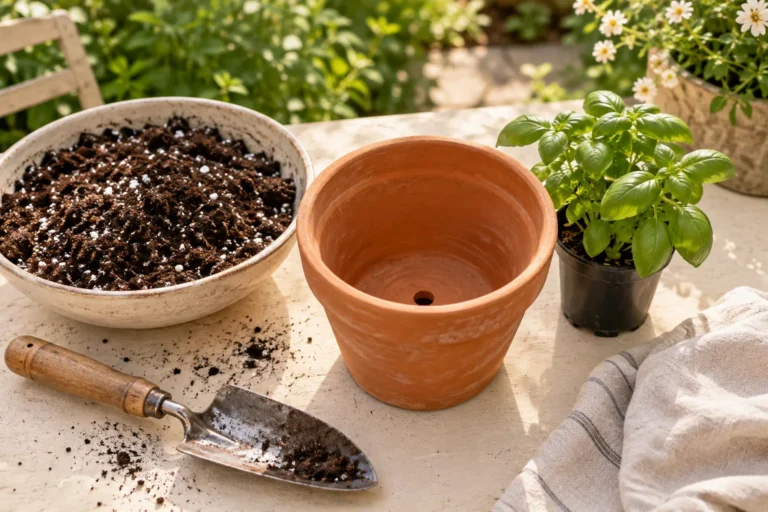
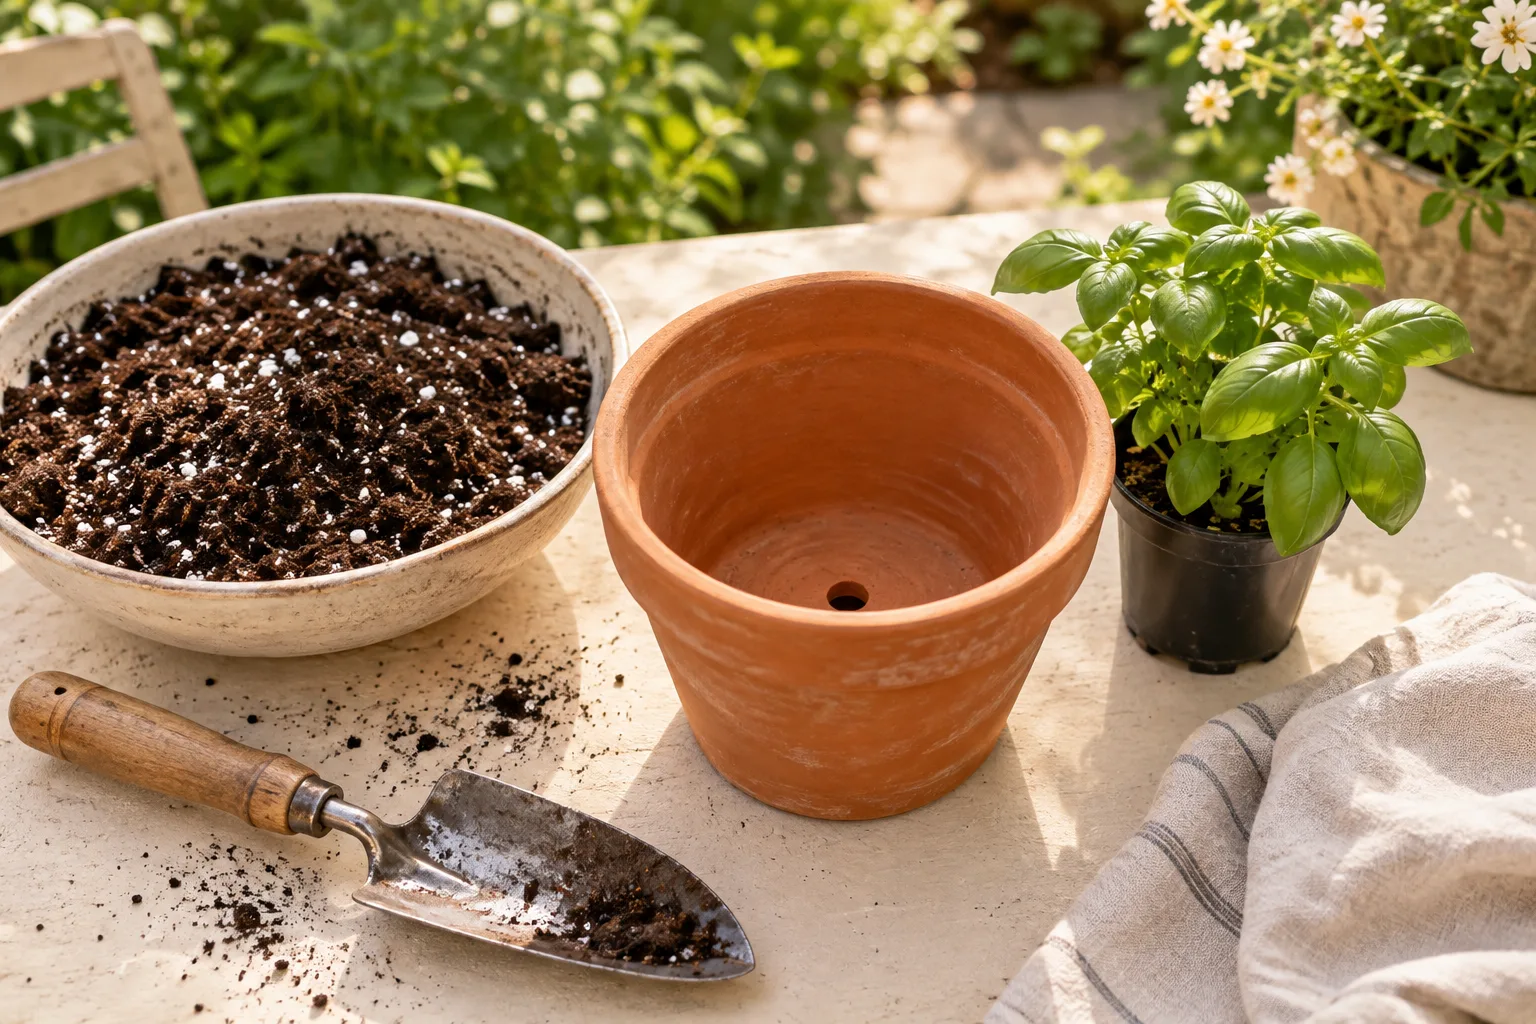
Before filling a container, inspect its bottom. Some decorative pots have no drainage hole, and some planters arrive with removable plugs. Read the product instructions and decide how excess water will leave the actual planted container.
If you like a decorative pot without holes, use it as an outer cover for a separately drained nursery pot and remove accumulated water. Do not assume a few inches of stones will turn a sealed vessel into a self-watering system. Purpose-built reservoir planters have specific features that a decorative cachepot does not.
Why the gravel idea is misleading
Illinois Extension identifies the claim that gravel improves drainage inside a pot as a myth. A coarse bottom layer changes the interface between materials and uses up space that could otherwise hold the growing medium. It does not remove the need for a drain.
For a beginner, the useful decision is straightforward: buy a suitable drained container and an appropriate mix. There is no need to carry home a separate bag of rocks just because an old planting diagram shows them beneath the soil.
Check what happens after watering
Put the pot on a surface that does not seal the drainage opening. After watering, check that water exits and has somewhere appropriate to go. A tray can protect a surface, but it should not leave an ordinary pot standing indefinitely in collected water.
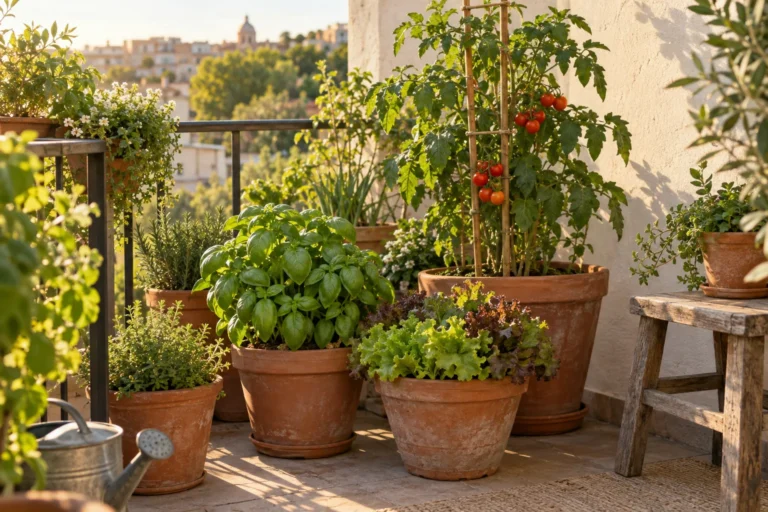
On a balcony, plan for neighbors and building materials below. The objective is not merely to get water out of the pot; it is to manage where that water ends up. Empty trays and inspect the area as part of the same care routine.
Use symptoms to improve the setup
A pot that remains saturated for a long time deserves attention. Check blocked holes, standing water, an unsuitable medium, and whether the pot is oversized for its plant. A dry-looking surface alone does not prove the deeper root zone is dry.
When you repot, take a photograph of the container bottom and record the medium used. This gives you a repeatable setup rather than a collection of hidden layers you cannot inspect. If an existing plant is struggling, avoid tearing it apart simply to match a diagram; investigate the actual problem first.
Your next steps
0 of 4 steps checked · Saved on this device
Sources & further reading
Extension resources support the growing principles in this guide. Planning examples apply them to small container gardens. Local conditions and variety instructions take priority.
- Illinois Extension: Container drainage options
- Illinois Extension: Getting started with containers and drainage
Prepared with AI assistance; this is research-based guidance, not a personal growing trial. Editorial policy · Suggest a correction