
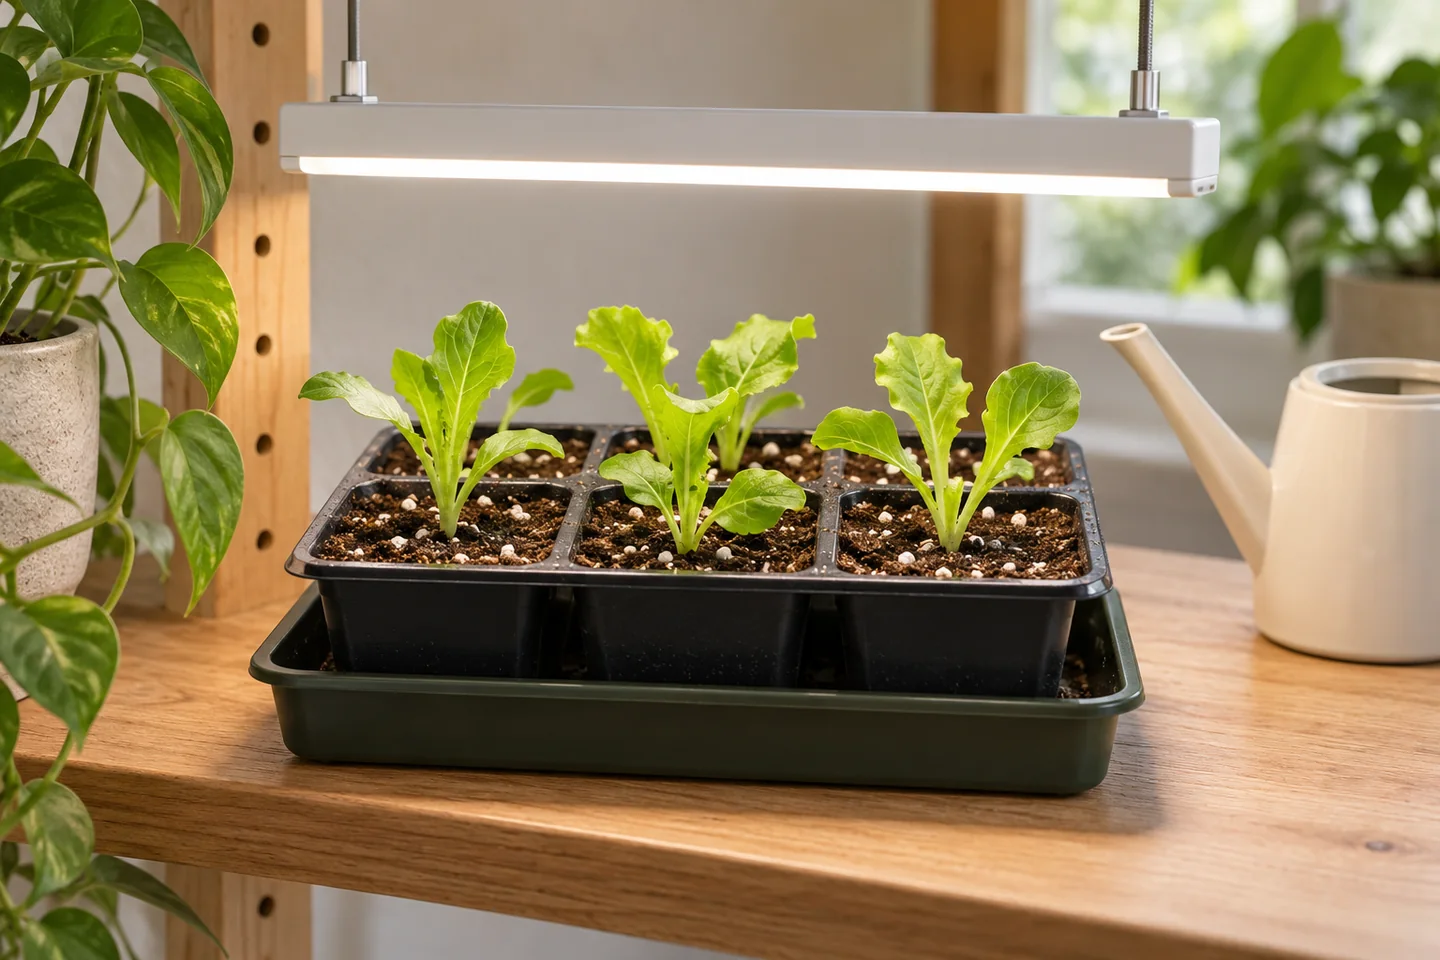
Count the plants your final containers can hold before opening a seed packet. Then decide which crops need an indoor start, which can be sown where they will grow, and whether a nursery transplant would make a smaller first project. A manageable tray is easier to light and move.
Choose a starting method for each crop
Maryland Extension’s seed-starting guide describes why long-season crops can benefit from an indoor head start and why some vegetables allow either route. The following choices apply that guidance to a small container project; use your local planting window and the variety’s instructions.
| Crop | Starting choice | Planning consequence |
|---|---|---|
| Tomato, pepper, eggplant | Start indoors, or buy a healthy transplant when local conditions suit planting. | A nursery plant avoids weeks of indoor care when you need only one or two. |
| Lettuce and other suitable leafy greens | A small indoor batch can give a head start; direct sowing is another option when conditions suit the crop. | Decide how many final planting positions are actually available. |
| Cucumber, squash, melon | Indoor starting or direct sowing can work. | Avoid assuming all crops need the same time in trays. Handle young roots gently. |
| Carrot | Direct sow in its final growing space. | Match usable container depth to the variety before sowing. |
Maryland specifically recommends direct seeding carrots. Our container-carrot guide covers the pot choice. Do not treat every crop sold as a seedling as one that needs an indoor nursery stage.
Make a tray plan that matches the finished garden
Suppose the finished garden has four lettuce positions and two tomato positions. That is six intended plants. If you choose to raise one spare of each crop, plan for eight retained seedlings: five lettuce and three tomatoes. This is a space calculation, not a germination forecast. It does not mean eight seeds will produce eight usable plants.
Draw the eight positions on paper, assigning each a variety and destination. Follow packet sowing and thinning directions; plan where any extras will go. Leave room for larger individual pots if the seedlings outgrow their first cells. A tray that fits today may need more shelf space later.
Work backward from a locally appropriate outdoor planting window using the packet or a crop guide. Include the outdoor transition period in the plan and check whether the source’s stated time already includes it. At the end of September, that may mean a fall crop in one U.S. region and preparation for next spring in another. An indoor start cannot replace a suitable growing season. See the fall planning guide.
Set up light before sowing
Minnesota Extension recommends 12–16 hours of daily light for seedlings, followed by darkness. A timer set from 6 a.m. to 10 p.m. provides 16 hours on and 8 hours off. Timing does not tell you whether the light is strong enough or evenly covers the tray.
- Read the fixture’s seedling-distance guidance and arrange an adjustable mounting before planting. A distance used for a fluorescent tube should not automatically be applied to a powerful LED.
- Place the tray within the fixture’s lit area. Check the ends of the tray as well as the middle.
- Leave clearance for growth and a safe, dry route for electrical connections.
- Record the initial fixture height and timer setting so later adjustments are deliberate.
Do not infer useful growing light from how bright the room looks. Minnesota warns that windowsill seedlings often become stretched and weak. If stems lean or elongate, review lighting and crowding before sowing another tray.
Prepare, sow, and inspect
Use clean containers with drainage and a seed-starting mix. Label crop, variety, and sowing date before filling the tray. Moisten the mix, follow the packet’s depth requirements, and keep the seed zone from drying while avoiding standing water. Minnesota’s guide explains individual cells and draining excess water from catch trays.
Illinois’s seed-starting instructions recommend removing a moisture-retaining cover once seedlings emerge and moving them into the light. Inspect daily so a cover used for germination does not become something forgotten over growing plants. Record the first emergence date and any uneven sections; those observations are more useful than guessing why a later batch differs.
When the plants are ready for outdoor conditions, use our hardening-off plan. Have the final pots ready before the tray runs out of room. Buying a transplant for one crop while starting another from seed keeps the first season manageable.
Updated September 30, 2026: Added crop-specific starting choices, a tray-count example, and practical lighting checks.
Use the guide for the stage your tray has reached
The starting plan above covers the complete setup. Use one of these focused guides when a specific decision comes up; they answer different questions along the same route.
- Before sowing: find the packet’s depth, spacing and maturity instructions.
- At emergence: decide when the cover should come off.
- When crowded: decide which seedlings to keep and how to remove extras.
- When mix needs water: use a temporary watering tray and then drain.
- When stems stretch: inspect the stem base, lighting and crowding.
- Before planting outdoors: plan the gradual transition.
Updated October 18, 2026: Connected the starting plan to the stage-specific seedling guides so readers can follow one sequence without repeating the full setup.
Your next steps
0 of 5 steps checked · Saved on this device
Sources & further reading
Extension resources support the growing principles in this guide. Planning examples apply them to small container gardens. Local conditions and variety instructions take priority.
- Maryland Extension: Starting vegetable seeds indoors
- Maryland Extension: Growing carrots in a home garden
- Minnesota Extension: Starting seeds indoors
- Illinois Extension: Starting seeds
Prepared with AI assistance; this is research-based guidance, not a personal growing trial. Editorial policy · Suggest a correction