
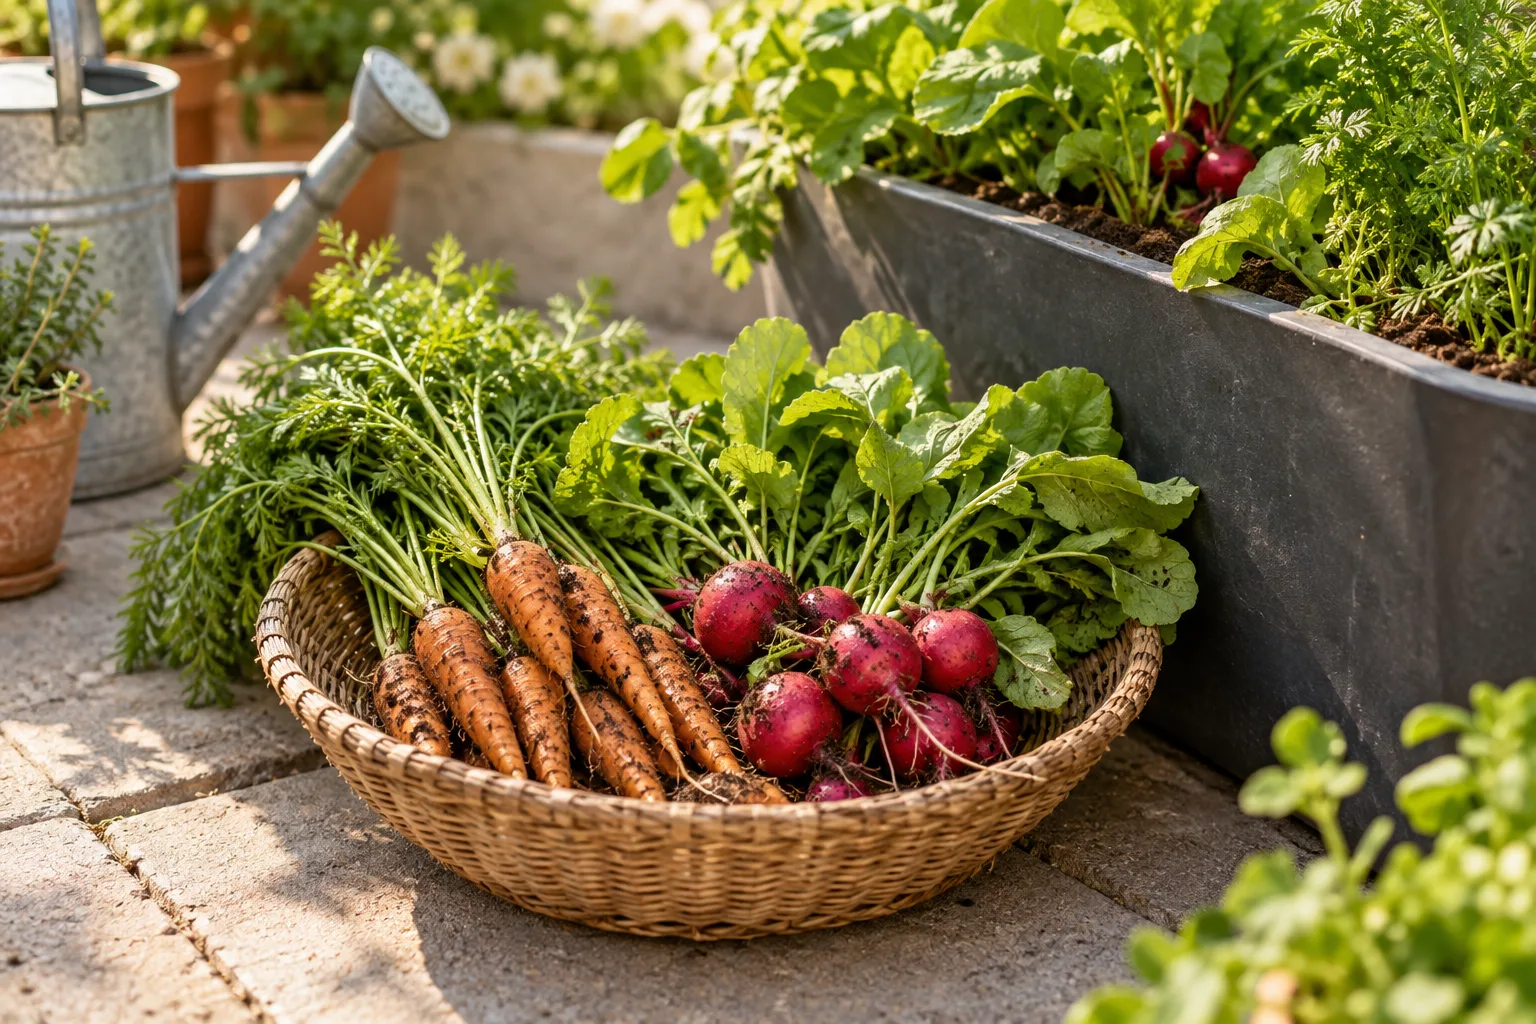
For a first radish pot, choose a small round variety and mark the final plant positions before sowing. That gives each developing root a defined space and makes thinning less of a guessing exercise. Long daikon and storage varieties need a different plan.
Check the light before marking the planter
Maryland Extension recommends full sun for radishes: at least six hours of direct light daily, preferably eight to ten. Check the exact position where the leaves will grow during your intended sowing season. A bright-looking balcony or a sunny hour at noon does not establish the daily total.
Use the sunlight worksheet to add separate sunny intervals and leave shaded gaps out. If the spot falls below that guidance, compare a sunnier, safely reachable position before filling the pot. Keep the light record with the variety and sowing date: the sixteen positions below describe spacing, not proof that the site can grow sixteen good roots.
Match the variety to the usable depth
Minnesota Extension distinguishes small garden radishes from larger daikon and calls for loose soil at least 6 inches deep for small types, a foot or more for long types. That is garden-bed guidance, not a guarantee that every pot of that depth suits every radish. Read the named variety’s expected root size and container requirements.
For the small-round-radish example below, use a planter with about 8 inches of usable mix depth and a 12-by-12-inch inside planting surface. This is a practical starting setup, not a tested minimum or a design for long-rooted varieties. Measure to the bottom of the actual growing medium; a reservoir or false floor takes up some of the pot’s height.
Use a container mix that fills the root space evenly and drains through unobstructed outlets. The pot-size guide and growing-medium guide cover those checks before you buy supplies.
Mark a 16-position planting grid
Maryland Extension gives a final spacing of 2–4 inches depending on radish type. The following layout uses 3-inch centers for a small variety whose packet permits that spacing. If your variety needs more room, change the layout before planting.
| Measurement | This example |
|---|---|
| Inside surface | 12 × 12 inches |
| Plant centers | 3 inches apart each way |
| Distance from wall to first center | 1.5 inches |
| Positions | 4 rows × 4 positions = 16 |
Lay a ruler across the planter and mark 1.5, 4.5, 7.5, and 10.5 inches from one inside wall. Repeat in the other direction. The intersections are the planting positions. This keeps all four rows equally spaced and gives the outside plants the same half-spacing to the wall.
A nominal “12-inch pot” may refer to an outside diameter, not a square usable surface. Do not force this grid into a round or smaller container. Draw its actual outline on paper and mark positions at the packet spacing; leave room at the edges rather than counting rim space as growing space.
Sow directly and remove extras
Minnesota’s direct-seeding guidance places small radish seed about ¼–½ inch deep. Follow the packet if its instructions differ. Moisten the mix first, sow at the marked positions, cover gently, and label the variety and date. If you sow an extra seed at a position, plan to keep only one seedling there.
- When seedlings can be distinguished, inspect every marked position.
- Keep one healthy seedling at each position. Snip the spare close to the surface without cutting the keeper.
- Check the distance between keepers, including plants that appeared outside your marks.
- Note empty positions separately. A much later replacement will not be the same age as the original sowing.
Sixteen marked positions mean room for sixteen plants in this example; they do not promise sixteen market-size roots. Germination, weather, pests, and care can change the result. Keep the original label so you know what was actually planted.
Keep the growing period cool and moisture steady
Minnesota Extension notes that drought stress can make radishes tough and poorly flavored. Check your container rather than borrowing a weekly watering rate for an in-ground bed. The container watering guide explains how to judge moisture and wet the root zone without leaving it waterlogged.
Choose sowing dates from local extension guidance. The spring and late-summer dates in a Minnesota growing guide are regional, not a U.S.-wide calendar. For an autumn crop, work through the fall planning example using the variety’s maturity estimate and your local conditions.
Maryland cautions against excess nitrogen because it can favor leafy growth over roots. Read the mix and fertilizer labels before adding feed. Large leaves by themselves do not establish a nutrient deficiency, and extra fertilizer is not a reliable fix for poor root development.
Check a root instead of waiting for a calendar alarm
Start inspecting as the packet’s expected maturity approaches. Look at the visible shoulder, then lift one sample if you cannot judge its size. Maryland suggests harvesting many small spring types at about an inch across, depending on cultivar, before roots become pithy or crack. The variety’s intended size matters more than making every radish large.
| What you find | Useful next check |
|---|---|
| Small root near the expected date | Compare its age, spacing, recent temperatures, and actual light before deciding to wait. |
| Lots of leaves but little swelling | Measure spacing and review heat exposure and the fertilizer already in the mix. |
| Woody, pithy, or excessively hot roots | Review delayed harvest, hot weather, and periods of moisture stress for the next sowing. |
| Visible root shoulder above the mix | Check the variety and maturity; exposure alone does not show that the crop has failed. |
Write down the sowing date, the first usable harvest, and one change you would make. If the season remains suitable, repeat a small batch in another pot. Changing one factor, such as spacing, makes your own observations easier to interpret than replacing the variety, mix, location, and feeding routine all at once.
Updated November 8, 2026: Added a sourced direct-sun check and a link to the sunlight worksheet before the existing planting-grid plan. Original publication date retained.
Your next steps
0 of 6 steps checked · Saved on this device
Sources & further reading
Extension resources support the growing principles in this guide. Planning examples apply them to small container gardens. Local conditions and variety instructions take priority.
- Minnesota Extension: Growing radishes in home gardens
- Maryland Extension: Growing radishes in a home garden
Prepared with AI assistance; this is research-based guidance, not a personal growing trial. Editorial policy · Suggest a correction