
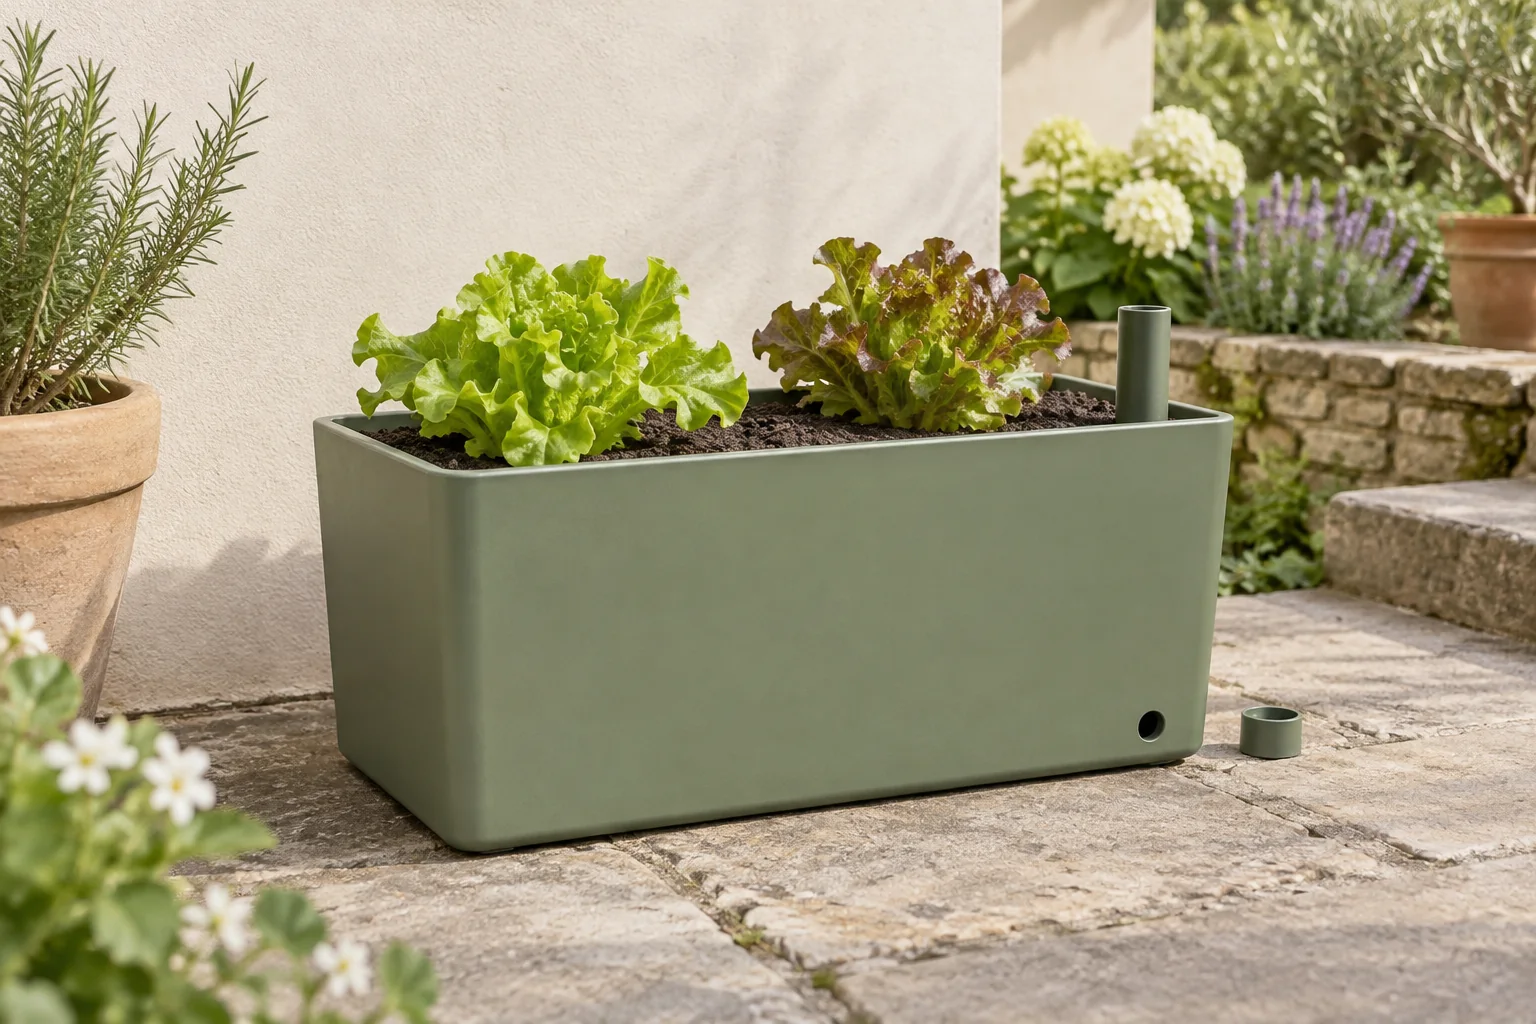
A self-watering container stores some water below the growing mix. It can make a thirsty pot easier to manage, but the name does not mean the planter fills itself or knows the weather. Before choosing one, find out how water enters, how extra water leaves and how you will check what is happening below the surface.
Identify the reservoir, fill point and overflow
Maryland Extension describes a common reservoir planter with potting mix above a perforated support and water held below. Moisture moves upward into the mix, while an overflow outlet limits how high the stored water rises. Designs vary: some use dedicated wicks, different inserts or a level indicator. Read the instructions for the exact design before adding mix or drilling holes.
| Part to locate | Question to answer before planting |
|---|---|
| Growing compartment | How much usable mix volume and depth remain above the reservoir? |
| Fill point or tube | Can you reach it after the crop grows and when the pot is in its final position? |
| Overflow outlet | Where will surplus water go, and can you keep the outlet clear? |
| Wick or supporting insert | How is it installed, and which mix does the maker specify? |
| Water-level check | Is there an indicator, an inspection point or another documented way to know when to refill? |
An ordinary pot left standing in a full saucer is not automatically the same system. Do not plug its drainage hole and assume you have made a reservoir planter. If you want to build one, use a complete design such as Maryland’s self-watering bucket-garden demonstration rather than borrowing disconnected parts from several plans. The position of the support and overflow belongs to that design.
Match the container to a crop and a place
Allow for both the mature plant and its root space. A large exterior box can have a smaller growing compartment once a reservoir and insert are installed. Write down the stated soil capacity separately from water capacity, then compare the first number with the crop’s container needs. A reservoir cannot make an undersized root compartment larger.
Maryland notes that lettuce and basil generally prefer more even moisture than thyme and rosemary, which should dry more between waterings. That makes moisture preference a useful screening question when selecting a crop; it does not prove that every reservoir design suits every plant. For an unfamiliar planter, begin with one modest planting and observe it before replacing all your existing pots.
Place the container where you can inspect it, refill it and manage overflow. Include the weight of water, wet mix and the mature plant in any placement decision. A ground-level patio avoids making assumptions about railing or shelf capacity. For a balcony or raised support, follow building rules and the support’s rated limits. Decide where it will stand before filling it.
Establish the planting before relying on stored water
Wisconsin Extension recommends reading commercial potting-mix labels to understand the material and any included fertilizer. A reservoir system may specify a particular mix and packing method, so check both sets of instructions. Heavy garden soil or an improvised gravel layer is not a substitute for the specified material and insert.
- Assemble the planter using its complete instructions and verify that the overflow is unobstructed.
- Prepare and moisten the mix as directed, including any wick or contact area.
- Plant at the crop-appropriate depth and follow the setup directions for initial watering from above.
- Check moisture near the young roots as well as the reservoir level; stored water below does not prove the root ball is moist.
- Record the first refill and observe the planter through ordinary sunny, windy and rainy conditions before depending on it.
Use the manufacturer’s establishment instructions for how long to continue top watering. Do not assign a universal number of days: a small transplant, a freshly sown row and an established root system are different starting points. Keep any fertilizer already in the mix in your feeding record and avoid adding multiple products simply because a reservoir is present.
Measure your refill interval instead of promising one
Illinois Extension recommends checking containers daily and explains that a reservoir can reduce watering frequency. It still needs observation. Start with a simple record: date, weather, water level, root-zone moisture and how much you added. Changes in plant size and weather can change the interval, so a result from one week is not a guaranteed vacation allowance.
Planning example, not a trial: if you add 2 liters on Monday and 1 liter on Thursday, the recorded addition is 3 liters. That is not necessarily the plant’s water use: rain, evaporation, overflow and water left in the reservoir can affect the balance. The useful conclusion is when that particular setup needed checking, not a universal liters-per-plant claim.
After heavy rain, check that overflow can escape. Before freezing weather or seasonal storage, follow the container maker’s instructions for draining and storage; do not assume a water-filled reservoir is protected by a winter-hardy plant above it. Use the empty-pot storage guide when the crop is finished. If you plan to leave home, test the arrangement and arrange a backup check using the vacation watering plan.
Your next steps
0 of 5 steps checked · Saved on this device
Sources & further reading
Extension resources support the growing principles in this guide. Planning examples apply them to small container gardens. Local conditions and variety instructions take priority.
- Maryland Extension: reservoir container design
- Maryland Grows: a complete bucket-garden demonstration
- Wisconsin Extension: container media and care
- Illinois Extension: checking and watering containers
Prepared with AI assistance; this is research-based guidance, not a personal growing trial. Editorial policy · Suggest a correction