
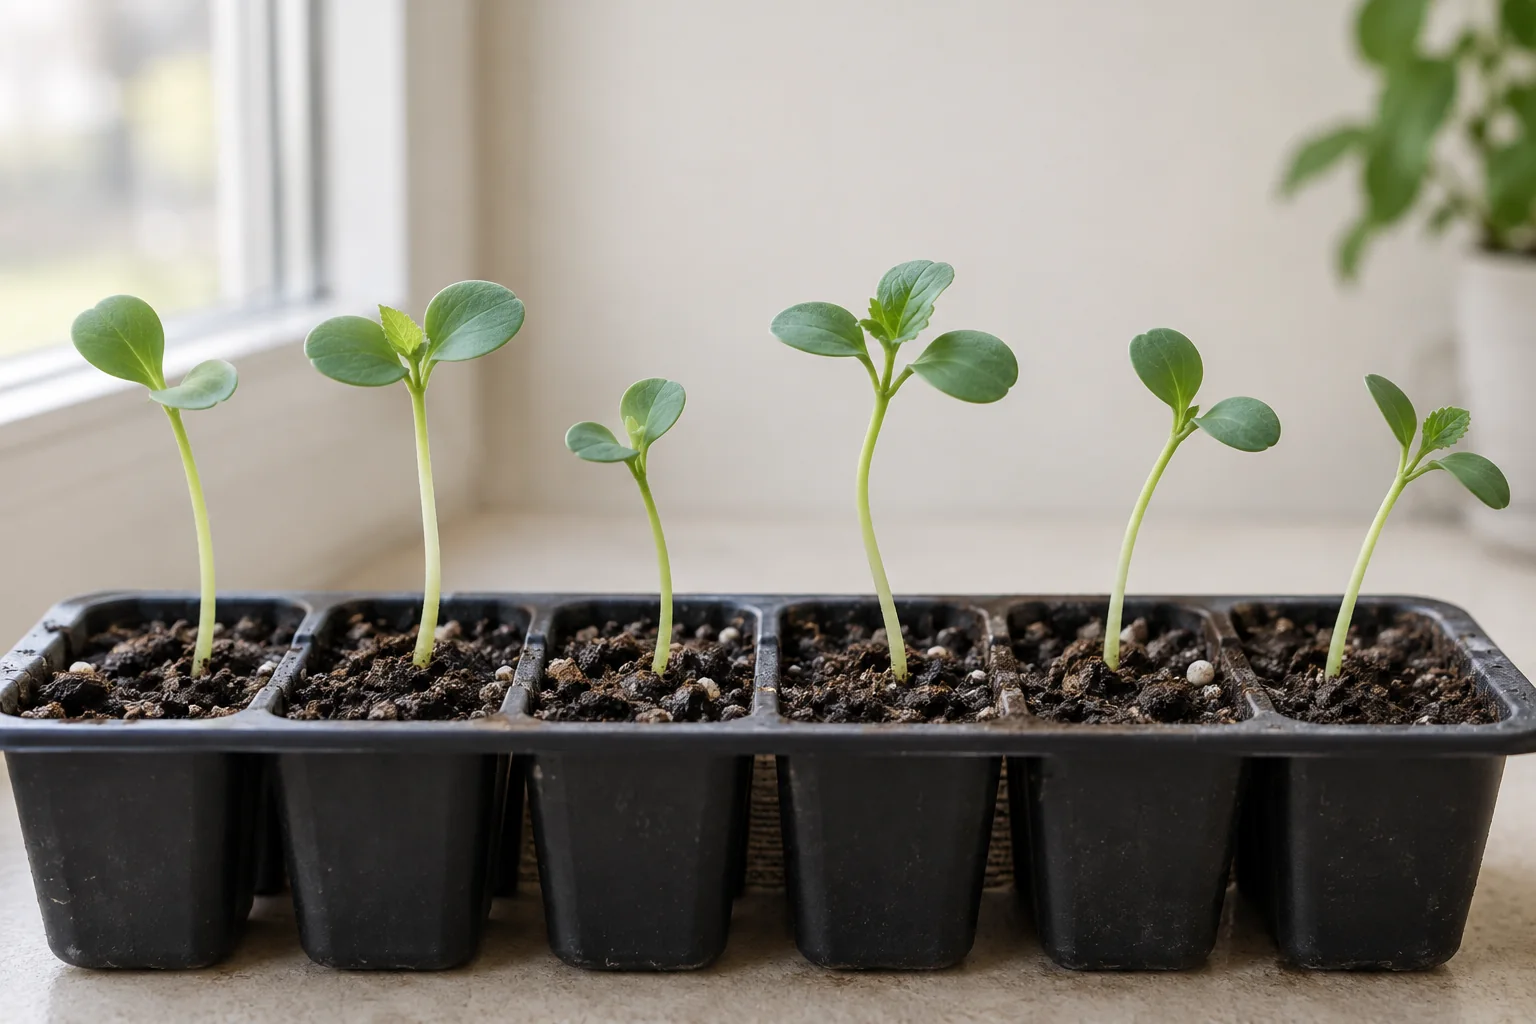
Tall seedlings are not always strong seedlings. When thin stems lean toward a window or stretch above a small cluster of leaves, pause before adding fertilizer or burying every stem. First check whether the plant is stretched but intact, damaged, or collapsing at the soil line. Those situations need different decisions.
Look at the stem base before changing the light
| What you see | What to check next |
|---|---|
| Long, intact stems leaning toward the light | Inspect light coverage, lamp distance, timer settings and crowding. |
| A soft, narrowed or discolored stem at the mix surface | Consider damping off or another injury; do not assume a brighter lamp will rescue it. |
| One snapped or badly crushed stem | Check handling damage and the growing point before investing more time in that plant. |
| Several plants fading or collapsing together | Record conditions and seek identification; review moisture and shared watering as well as light. |
Minnesota Extension’s damping-off guide shows warning signs including soft, water-soaked or discolored seedling stems and a threadlike narrowed area. Infected seedlings rarely become vigorous plants. Pathogens can move through growing media and shared irrigation water. Keep suspect plants separate from healthy batches and seek local extension help when the cause is unclear. A generated illustration, including the one on this page, cannot establish what is wrong with your seedlings.
Check the whole light setup
Minnesota’s indoor-lighting guidance explains that distance affects the light reaching plants, and watts measure energy use rather than the amount of usable light at a leaf. Read the fixture’s instructions for seedlings, including height, coverage and any dimmer setting. Do not copy an exact distance from a different lamp: a powerful panel and a small fluorescent fixture can behave very differently.
- Check that the timer actually turns the fixture on and off at the intended times.
- Look at the edges of the tray as well as the center. Move extra pots into adequate coverage instead of crowding them under a small light.
- Measure the gap from the light to the tops of the seedlings, then adjust as plants grow using the fixture guidance.
- Watch for heat, bleaching or other stress after an adjustment. More light is not a reason to put leaves against a hot lamp.
Maryland Extension suggests 14–16 hours of light per day for indoor seedlings. A timer can make that repeatable while leaving a dark period. Its guide notes that ordinary window light is seldom sufficient for sturdy growth. A longer day under a weak lamp is not automatically equivalent to adequate intensity. The grow-light cost worksheet can estimate electricity use, but it does not tell you whether a lamp is suitable for your tray.
Give each seedling room and appropriate care
Minnesota’s seed-starting guide recommends thinning a crowded cell once true leaves develop, cutting unwanted seedlings at the mix surface rather than pulling against the roots you want to keep. For crops normally grown as individual transplants, leave the healthiest suitable plant. Do not apply that rule to a tray intentionally grown as microgreens, where the harvest goal is different.
Remove a germination cover after seedlings emerge and reassess temperature. Maryland distinguishes the warmth used for germination from somewhat cooler conditions for growing seedlings. Follow crop-specific guidance, especially if the room is already cool; turning off every heat mat in every situation is not a universal fix. Avoid placing a tray over a heating vent or in a cold draft.
Keep the root zone appropriately moist with good drainage. Neither repeated flooding nor allowing small cells to dry hard will strengthen stems. Before feeding, check whether the mix already contains fertilizer and use a seedling-appropriate product according to its directions. Fertilizer cannot replace missing light. Record changes so that a new problem is not confused with the original one.
Decide whether to keep, pot on or restart
Keep an intact plant under improved conditions and watch its new growth. The old stretched section will not become a short stem, so judge whether subsequent growth is sturdier and whether the plant can be handled without breaking. Photograph the same view on successive checks rather than relying on memory. A short dated record is enough.
Do not make deep planting the default for every crop. Minnesota’s tomato guide specifically describes deeper planting for tall tomato transplants; that crop-specific practice does not establish an identical method for all vegetables and herbs. Check the guidance for your crop before covering its stem or growing point. If potting on, handle delicate seedlings by a leaf rather than squeezing the stem.
Restart when the growing point is lost, decay is spreading or the remaining plant is too damaged to handle. Use clean containers and fresh seed-starting mix when disease is suspected, as described in the damping-off guidance. Compare the time required to start again with your local planting window. An October sowing in a mild region and a spring transplant in a cold region have different deadlines. Before any surviving indoor seedlings move outside, follow a gradual hardening-off plan.
Your next steps
0 of 5 steps checked · Saved on this device
Sources & further reading
Extension resources support the growing principles in this guide. Planning examples apply them to small container gardens. Local conditions and variety instructions take priority.
- Minnesota Extension: lighting for indoor plants and seedlings
- Maryland Extension: indoor seedling care
- Minnesota Extension: starting and thinning seedlings
- Minnesota Extension: identifying and preventing damping off
- Minnesota Extension: planting tall tomato transplants
Prepared with AI assistance; this is research-based guidance, not a personal growing trial. Editorial policy · Suggest a correction