
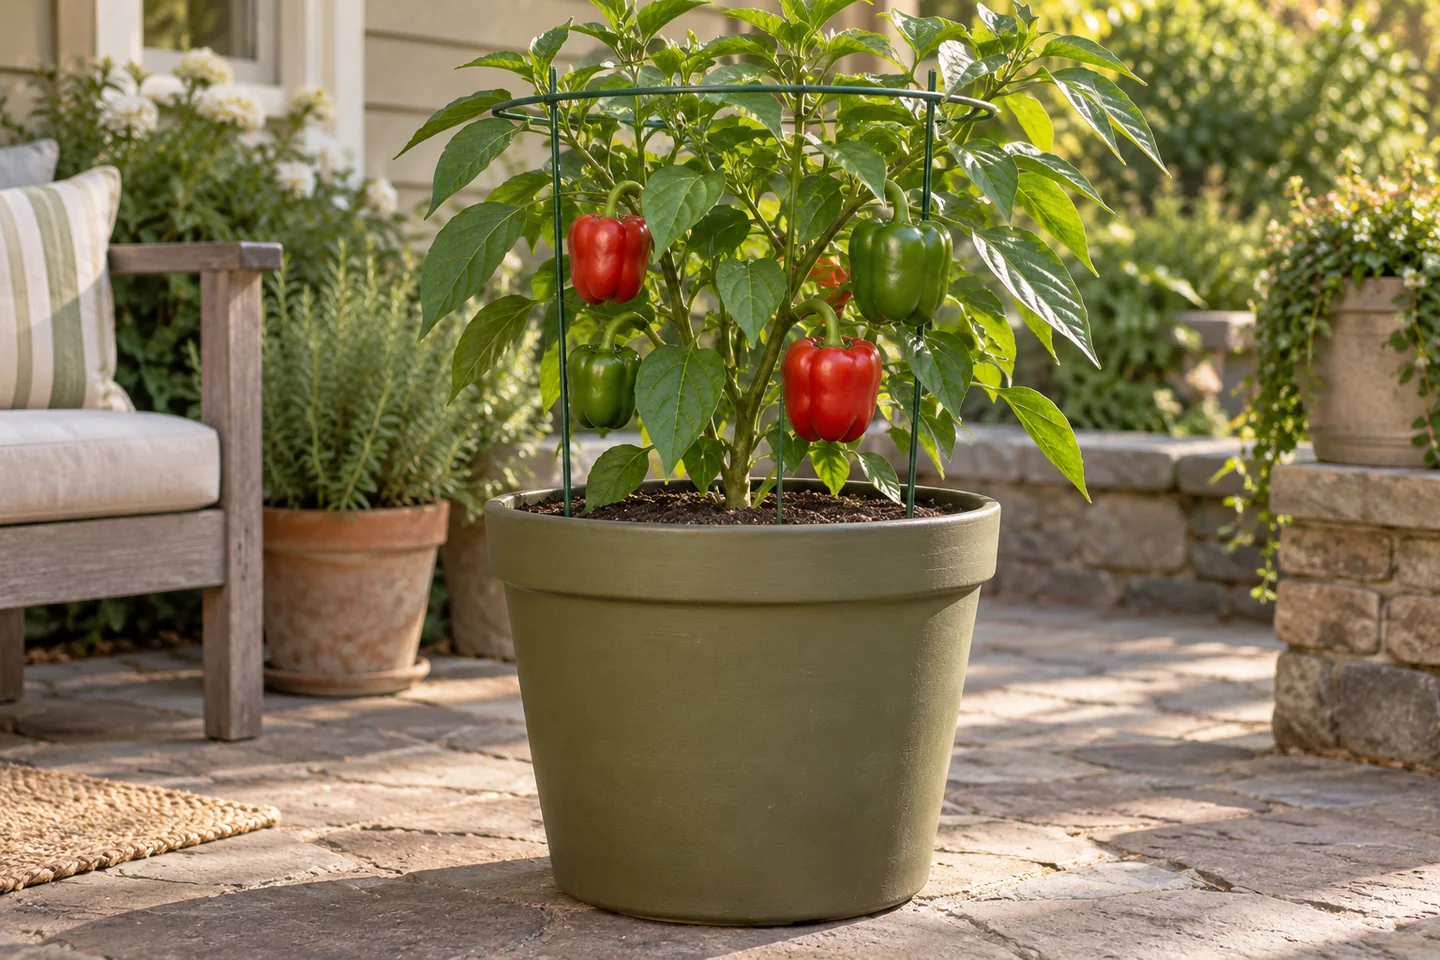
Plan a pepper pot around one plant you actually want to cook with. Its mature size, ripening time, and need for support matter more than the size of the nursery seedling. A roomy container makes a useful starting project, but it cannot supply missing warmth or sunlight.
Start with one plant and a five-gallon plan
Oregon State recommends a five-gallon bucket or similarly sized container for one pepper plant. That supports a practical starting choice for a standard bell pepper: one plant in a draining container of at least five gallons, with room for a cage and access to the mix. A larger pot can be sensible when the variety is vigorous or the site dries quickly; it will also be heavier to move.
Maryland notes that dwarf and compact vegetables can use smaller containers than full-size plants. That does not establish one smaller size for every compact pepper. Ask for the named cultivar’s container recommendation instead of assuming that a small fruit means a small plant.
| What the plant label tells you | How to choose the setup |
|---|---|
| Compact or patio habit | Check the mature height and width, then the supplier’s pot recommendation. If either is missing, keep the roomier one-plant plan. |
| Standard bell or an unspecified pepper | Begin with the sourced five-gallon plan, then allow for the labeled canopy and support. Do not share it with a second pepper by default. |
| Tall, spreading, or long-season variety | Measure the available space and compare the local season before buying. A larger root container does not shorten the time to ripe fruit. |
Record the actual container capacity, usable fill depth, and variety on a simple pot card. Five US liquid gallons are about 18.9 liters; nursery trade sizes and outside measurements can describe a different amount of growing space. Our pot-size guide explains the distinction. For a reservoir planter, check the stated planting volume separately from water storage.
Check the season before buying the transplant
Maryland identifies peppers as tender warm-season plants that slow down in cool conditions. This October update is not a recommendation to start peppers outdoors everywhere in the United States. In places approaching frost, use it to plan the next warm season or finish an existing crop. In a mild-winter region, use the local extension calendar and the actual variety’s timing.
Compare two dates on paper: when your site can support a warm-season transplant, and when useful growing conditions usually end. Then check whether the packet counts maturity from sowing or transplanting. For a hypothetical 75-day listing measured from transplanting, a seed sown today has not started that same 75-day clock. Allow for the indoor stage and gradual outdoor acclimation when making the plan.
Oregon State advises six to eight hours of sun and notes the risk of hot late-afternoon exposure. Observe your own site rather than choosing solely by the direction the balcony faces. Record morning and afternoon sun separately using the sunlight worksheet.
Set up the pot before roots and branches fill it
- Put the empty container on a stable, level surface where runoff can drain safely. Leave a clear route for watering and picking.
- Check drainage openings and fill with a suitable container mix. Keep the planned root space available instead of adding a layer of rocks.
- Fit a cage or short support early. Make sure the opening lets you reach the plant without forcing branches through it.
- Set the transplant at its existing root-ball depth, gently fill around it, and water to settle the mix. Label the variety and transplant date.
Oregon State cautions against burying pepper roots deeper than the original root ball. Before leaving the setup, check for a rocking pot, a loose support, and ties pressing into stems. Follow the support maker’s instructions; container size alone is not a wind rating.
Use observations to guide care and harvest
Keep a short record with four fields: date, mix condition, weather, and action. Check the root zone before watering and record any feed already supplied in the mix. Follow the product label for container use; the fertilizer record helps avoid overlapping applications. A flower dropping is a reason to inspect conditions, not an automatic instruction to add fertilizer.
Maryland links uneven moisture and excessive heat with pepper problems. Its guidance also supports picking usable full-size green fruit or leaving suitable varieties to color, and cutting rather than pulling pods. Use the variety’s description for expected size and color; a photograph of another cultivar is a poor harvest ruler.
Near the end of the season, decide which fruit is already useful and which still needs time. Check the frost-night plan before moving a heavy pot at the last minute. Save the variety, container size, first harvest date, and one thing to change next year. Those notes describe your own garden without turning one season into a universal yield promise.
Updated October 2, 2026: Clarified compact versus standard pot choices, sourced the five-gallon plan, and added setup and season checks.
Your next steps
0 of 5 steps checked · Saved on this device
Sources & further reading
Extension resources support the growing principles in this guide. Planning examples apply them to small container gardens. Local conditions and variety instructions take priority.
- Oregon State Extension: Grow your own peppers
- Maryland Extension: Growing vegetables in containers
- Maryland Extension: Growing peppers
Prepared with AI assistance; this is research-based guidance, not a personal growing trial. Editorial policy · Suggest a correction