
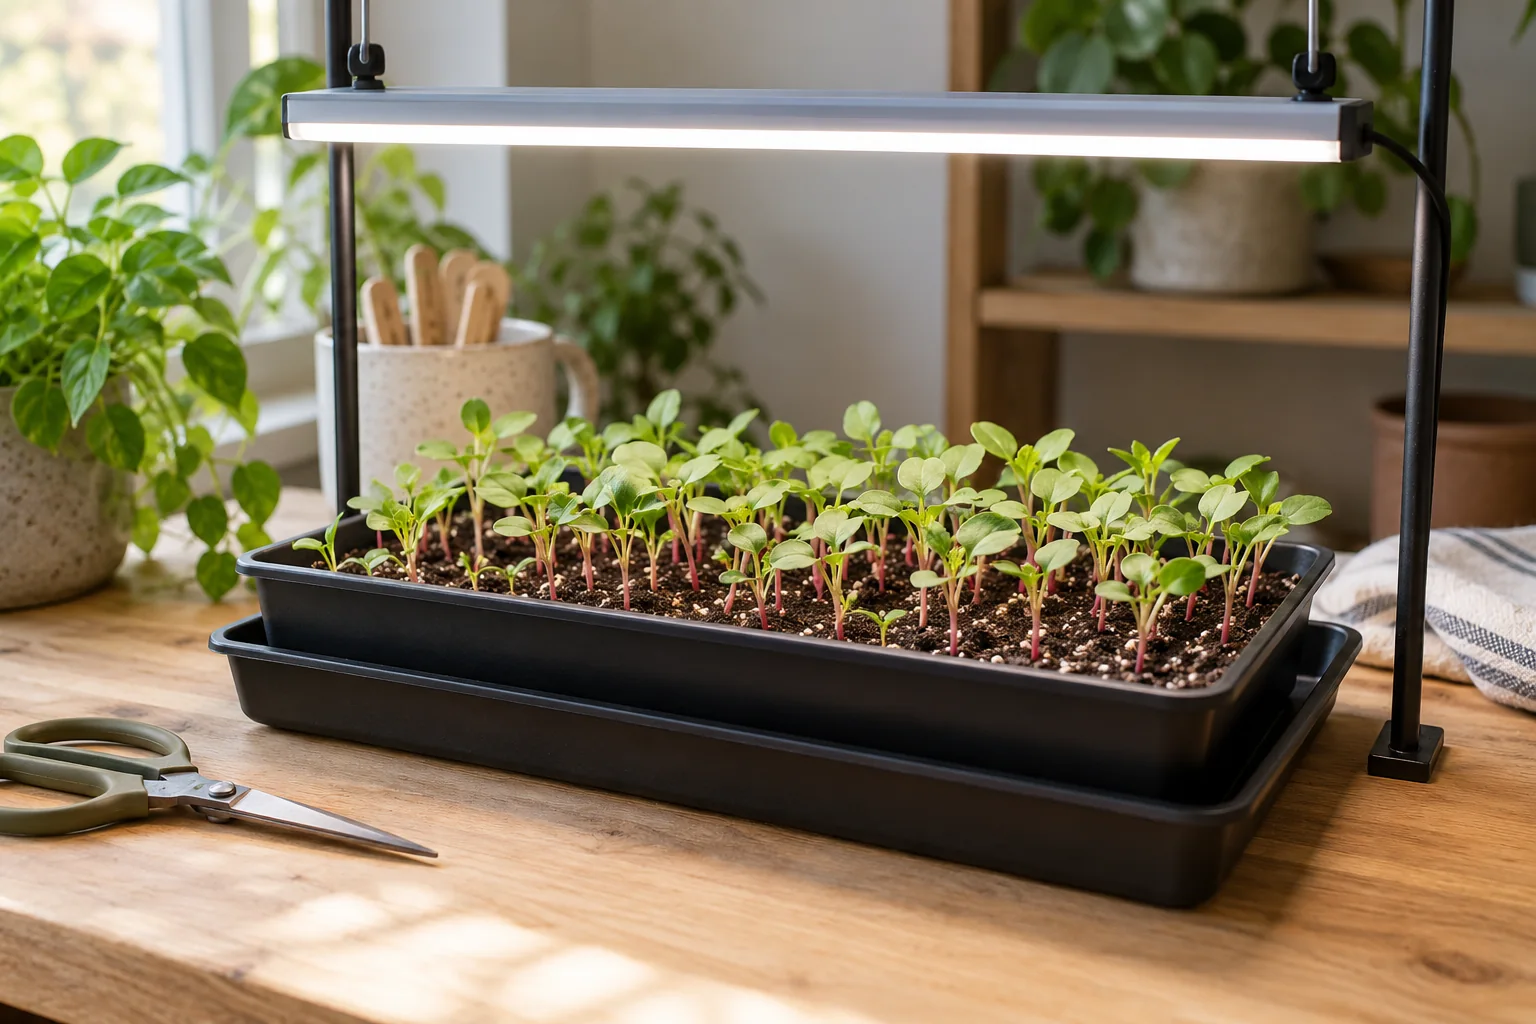
A tray of microgreens can keep a small food-growing project going when the patio season pauses. Start with one crop and one reachable tray so you can learn its watering and harvest rhythm before filling a shelf. The aim is a small cutting for the kitchen, not a promised quantity of food.
Choose the harvest you actually want
Iowa State distinguishes microgreens from sprouts: microgreens are cut for their stems and leaves near the first true-leaf stage, while sprouts are eaten much earlier with the seed and root. This guide covers microgreens grown in a shallow layer of mix. It does not describe jar sprouting or mature salad plants.
Choose one edible crop sold for microgreen use, such as radish or broccoli, and keep its sowing instructions. South Dakota State emphasizes untreated seed and clean handling. Do not use seed coated with a pesticide. Wash hands before sowing and harvesting, and use new or properly cleaned and sanitized trays and cutting tools.
One species per tray makes a first batch easier to follow because germination and growth rates differ, as Iowa State explains. Mixing several packets makes it harder to tell whether a slower patch is normal. A radish tray is a different project from growing full-size radish roots.
Set out a complete small tray before sowing
| Part of the setup | What to settle first |
|---|---|
| Growing tray | Use a shallow, food-grade growing container with drainage, inside a catch tray. Make sure you can lift it out to check runoff. |
| Mix and seed | Use fresh soilless growing medium and retain the seed instructions. Measure the actual sowing area before choosing the seed amount. |
| Light and access | Reserve a stable, reachable location. Keep electrical connections clear of watering and allow the fixture to move as plants grow. |
| Record | Write crop, seed amount, tray dimensions, sowing date and light schedule on one card. Keep the same card through harvest. |
Maryland Extension describes shallow trays with 1–1½ inches of moist soilless medium. Sow evenly, following the crop supplier’s tray-area directions rather than treating a spoonful as a universal dose. Press seed into good contact with the moist surface; follow crop instructions about covering or soaking.
For a label that specifies 8 grams per 100 square inches, a tray with a 5 × 10-inch sowing surface would use 4 grams: 50 ÷ 100 × 8. This is a fictional label example explaining area scaling, not a recommended radish seeding rate. Use the actual instructions for your seed.
Check moisture and light as separate jobs
Maryland recommends about 16 hours of daily light for microgreens. A timer running from 6 a.m. to 10 p.m. supplies that duration, followed by eight hours off. Use the fixture’s guidance for distance and coverage; the number of hours cannot compensate for an unsuitable lamp. Indoor conditions matter in every U.S. region, even when the outdoor climate is mild.
Keep the growing medium moist without saturation. Iowa State recommends watering from below after germination to avoid wetting the foliage. Inspect the tray before adding water, allow drainage, and do not leave it forgotten in standing water. If using a germination cover, follow crop instructions and check it regularly rather than leaving dense growing plants sealed inside it.
Use two short observations: “Is the seed zone drying?” and “Is the tray draining?” They call for different responses. Record what you actually changed. If the crop becomes moldy or smells spoiled, discard that batch rather than treating a rinse as a remedy. Our illustration shows a general setup; it cannot diagnose an unfamiliar growth on your tray.
Harvest by growth stage, then review the batch
Look for the first true leaves, which differ from the initial seed leaves. Cut with clean scissors above the growing medium, leaving roots behind. Iowa State’s harvest guidance calls for clean hands and equipment, gentle washing, careful drying and prompt refrigeration. Harvest close to the meal you plan to use it in. Do not assume a tray that looks clean is sterile.
Record the harvest date and whether the amount suited one meal or several. Keep cost observations separate from claims of savings: seed, mix, electricity and discarded batches all count. For the next batch, change one recorded variable at a time so the comparison is useful. Use fresh medium for this beginner routine and clean the tray again; do not expect the cut seedlings to supply repeated harvests.
If you want leaves to pick over a longer period, compare lettuce in containers instead. Add checks to the private garden task list once the first tray is in place.
Your next steps
0 of 5 steps checked · Saved on this device
Sources & further reading
Extension resources support the growing principles in this guide. Planning examples apply them to small container gardens. Local conditions and variety instructions take priority.
- Maryland Extension: Growing microgreens and baby greens
- Iowa State: Growing microgreens and harvesting
- South Dakota State: Seed selection and clean handling
Prepared with AI assistance; this is research-based guidance, not a personal growing trial. Editorial policy · Suggest a correction