
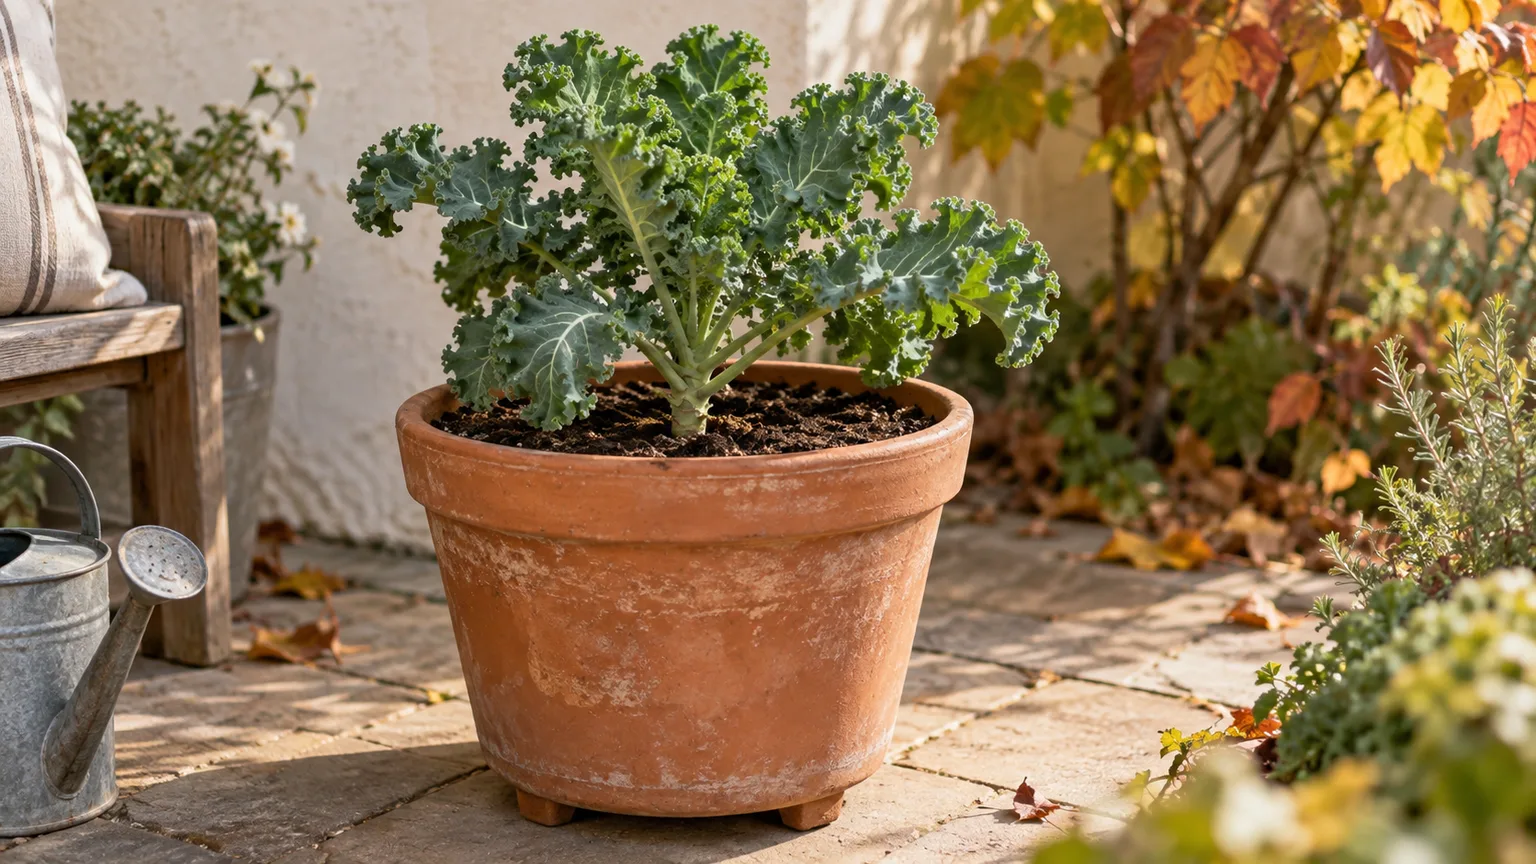
One pot, one useful crop
For a first pot of mature kale, choose a compact edible variety and give one plant its own draining container. Decide whether you want repeated outer-leaf pickings or a short crop of baby leaves before sowing; those goals need different spacing.
A kale plant can earn its place on a patio without producing a basket of leaves every week. A few leaves for soup or a skillet meal are a reasonable reason to grow one. The useful questions are how much room the variety needs, whether your local season allows it to establish, and how you will keep harvesting without stripping the plant.
Choose mature leaves or baby leaves
A mature kale plant becomes a substantial individual. A baby-leaf crop is harvested while several plants are still small. A crowded pot cannot become a roomy mature planting simply because you leave it longer. Pick one approach and write it on the plant label.
- Repeated outer-leaf harvests: Start with one compact variety in a pot at least 12 inches wide and deep; a larger pot can be easier to manage. Measure usable internal space, not the decorative lip.
- Baby leaves: Use a broad container and follow the packet’s baby-leaf directions. Expect to harvest young plants rather than keep a dense planting indefinitely.
- A tall variety: Plan for its mature size, a larger container, and support in an exposed spot. It is a different project from a dwarf variety on a small patio.
The RHS kale guide gives the 12-inch-wide-and-deep container as a starting point for one compact mature plant. Its calendar is written for the U.K.; use the container guidance with a planting calendar from your own U.S. extension service.
Check the growing window before buying plants
Kale is a cool-season crop, but being frost tolerant does not make a newly sown pot an instant winter harvest. Maryland Extension suggests adding 10–14 days to a variety’s stated maturity when planning fall sowing, to allow for shorter days. Its leafy-greens guide also notes that transplants can be used for a fall planting.
Here is a planning example: if a packet says 55 days from seed, adding 14 days gives 69 days to count back from your local first-frost planning date. That calculation helps you ask whether sowing now is sensible; it is not a guarantee of a full harvest on day 69. Check whether a different packet counts from sowing or transplanting before comparing it.
In a short-season northern location, late September may be too late to start that mature crop from seed. In a milder region, the useful window can be different. If the timing does not fit, make a spring plan or use a locally recommended transplant. Our fall planning guide helps you work with the season you actually have.
Plant without filling every gap
- Choose a sunny growing position and a container with clear drainage holes. Fill it with a mix intended for containers, leaving watering room below the rim.
- For seed, use the packet’s depth; Utah State gives a typical range of one-quarter to one-half inch. Label the variety and sowing date.
- Thin seedlings instead of leaving every germinated plant. Utah State recommends thinning once seedlings have three or four true leaves. For the single mature-plant pot, keep one strong plant.
- If using a transplant, choose a healthy specimen and acclimate an indoor-grown plant gradually before its full outdoor exposure. Water after planting and check it during establishment.
The seed instructions come from Utah State’s kale recommendations. For the outdoor transition, follow our hardening-off steps. A label with the intended final plant count makes it easier to resist crowding the pot later.
Care for the container, not an imaginary garden bed
Check moisture in the mix and water thoroughly when needed, allowing excess water to escape. Container roots have a limited reservoir; a garden-bed irrigation schedule does not translate neatly to a pot. Maryland’s container guide explains the importance of drainage and regular moisture checks.
Read the mix label for an existing fertilizer charge before adding another product. Use fertilizer labeled for edible container crops at its stated rate. Do not convert a field recommendation in pounds per row into an improvised scoop for a single pot. Keep the packet, mix label, and feeding notes together; our fertilizer guide can help you plan.
Look under leaves when something changes
Holes deserve a closer look before a spray. Imported cabbageworm larvae can blend into leaf surfaces, and dark pellets may be visible near feeding damage. Maryland Extension describes hand removal and covers that prevent egg laying among the available controls. Use its identification and monitoring guide to check what you actually see.
On a single pot, turn leaves gently and photograph the upper and lower surfaces. Record whether damage is old or increasing. If you cannot identify the cause, send those photographs to your local extension office. A leaf with a hole is evidence of damage, not a diagnosis by itself.
Harvest a few leaves and keep the center growing
Pick usable outside leaves while leaving the central growing point and enough healthy foliage for continued growth. Utah State recommends removing older leaves and allowing the young ones to continue developing. Its harvest section is a useful reference. Pause picking when growth is slow rather than removing the last good leaves for a planned meal.
Keep a simple record: first picking date, what you cooked, and whether the plant had replaced those leaves before the next picking. That tells you whether one pot meets your needs. Add a second pot next season only if you have the light, room, and time for it.
Can the pot stay outside all winter?
Cold tolerance varies with the plant, weather, and container exposure. A hardy leaf does not establish the minimum temperature for an exposed root ball. Check local guidance and use our frost-night plan for short cold events; it is not a whole-winter survival guarantee.
Your next steps
0 of 5 steps checked · Saved on this device