
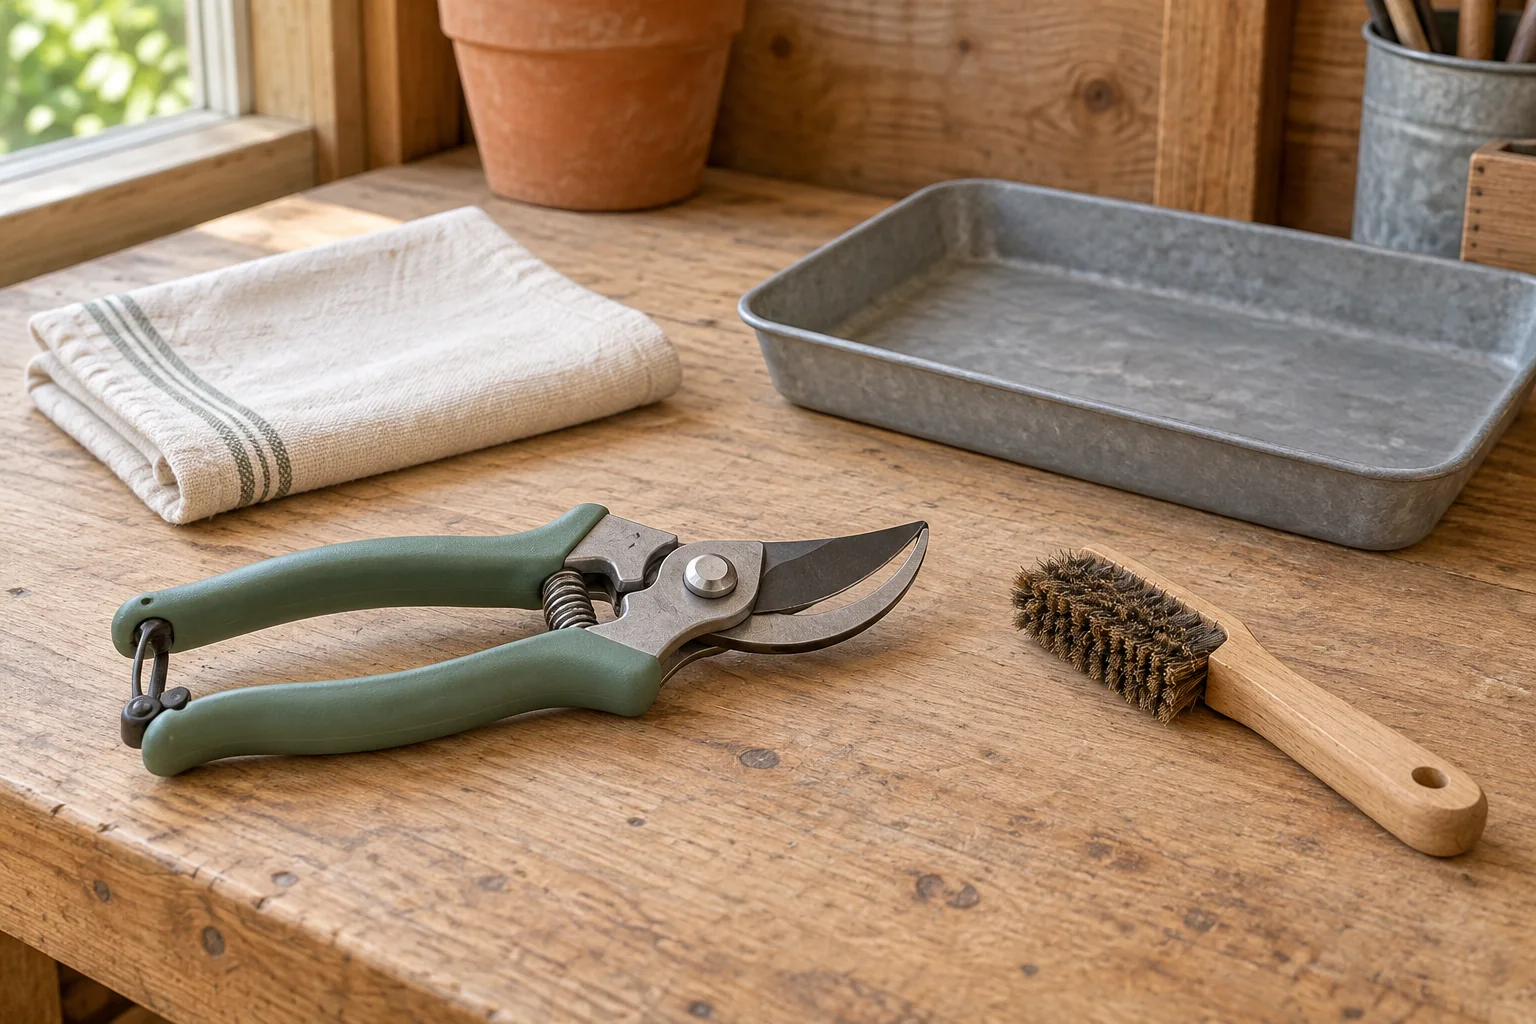
One pair of snips may move from a tomato stem to a herb pot and then into a drawer. Cleaning between jobs is easy to overlook, especially when the blades look tidy. Build a short routine around removing debris, choosing an appropriate disinfectant and putting tools away dry. Each step has a different job.
Separate cleaning, disinfection and storage care
University of Minnesota Extension explains that soil, sap and plant debris can carry plant pathogens. Removing that material comes first because it can interfere with disinfection. A shiny blade is not proof that it is pathogen-free. Equally, oiling a blade for storage is not a replacement for either cleaning or disinfection.
| Step | Purpose |
|---|---|
| Clean | Remove visible soil, sap and plant fragments, including material around the pivot. |
| Disinfect | Use a suitable method to reduce transfer of plant pathogens; effectiveness depends on the organism and product. |
| Dry and maintain | Inspect the tool and follow its care instructions to reduce corrosion and keep it working. |
Make the distinction at the workbench: keep the brush and dirty wiping cloth on one side, with a clean dry place for finished tools on the other. You do not need an elaborate station, but avoid laying cleaned blades back into the debris you just removed. Keep chemicals in their original labeled containers, away from food, children and pets.
Use a repeatable cleaning sequence
- Check the tool manual before taking parts apart or applying a solvent. If it has a damaged handle, loose pivot or unreliable lock, set it aside for repair.
- Remove plant fragments and loose soil with a suitable brush or cloth. Keep fingers away from the cutting edge.
- Wash compatible surfaces with soap and water to remove remaining grime. Work carefully around the pivot rather than forcing it against grit.
- Rinse away the cleaning solution and remove excess water before the disinfection step. Do not combine soap, bleach, alcohol or other products in a homemade mixture.
- Check that the blade and accessible joints are visibly clean before moving on.
Minnesota’s pruning-tool care article distinguishes routine washing from more involved maintenance and notes that steel types and coatings differ. Abrasive cleaning that suits a plain steel part may damage a coated blade. A badly corroded or jammed tool needs a repair decision, not simply more disinfectant. For ordinary snips, follow the maker’s cleaning and lubrication directions rather than copying a power-tool rust-removal demonstration.
Choose the method for the job
Iowa State lists ready-to-use 70% isopropyl alcohol as a convenient option for hand pruners. It can be wiped or dipped onto cleaned blades without dilution or a prolonged soak. Read the product and tool instructions, wet the blade surfaces rather than giving the handle a token wipe, and let the tool dry before use. Alcohol is flammable: keep the work away from flames, sparks and heat, and never burn it off a blade.
This is not a claim that alcohol kills every plant pathogen. Iowa State specifically warns that it may not be effective for some diseases, including fire blight on apple trees. If you have a diagnosed or suspected disease, get crop-specific extension advice for the appropriate product and procedure. Do not assume a household cleaner’s claim against human germs proves control of the plant disease you are managing.
Bleach can corrode cutting edges, and disinfectant formulations differ. Avoid choosing a dilution or contact time from a different product. If a disease-specific recommendation calls for another disinfectant, follow that method and the current label, including protective equipment, rinsing, disposal and tool compatibility. Never mix disinfectants with each other or with other cleaners.
Know when to pause between plants
Clean and disinfect after working on a sick plant and before touching the next one. Iowa State advises at least between plants when removing infected material, ideally between cuts. Minnesota also includes borrowed tools, tools returning from another garden and tools going into seasonal storage among the occasions that need attention. A quick rinse after several pots does not undo transfers that may already have happened.
If unexpected spotting or dieback appears during a job, pause and keep that tool separate while you assess the plant. Record the symptoms using the plant-check guide. Cleaning tools helps limit one route of spread; it does not diagnose or cure the plant, sanitize its mix, or replace pest identification.
Finish with dry storage
Illinois Extension recommends clean, dry tools stored away from moisture. Inspect the cutting edge, pivot, spring and handle. Apply only the light protective treatment specified for the tool, and follow directions for removing excess before the next plant or harvest job. Store blades secured according to the maker’s instructions, out of casual reach.
Keep a small repair list beside the storage spot: “cleaned; pivot still stiff” is more useful than hiding that pair beneath the working tools. Care may be needed throughout the year, even where there is no winter shutdown. For the rest of the container garden, use the separate guides to clean empty pots and store containers for winter.
Your next steps
0 of 5 steps checked · Saved on this device
Sources & further reading
Extension resources support the growing principles in this guide. Planning examples apply them to small container gardens. Local conditions and variety instructions take priority.
- Minnesota Extension: cleaning and disinfection
- Iowa State Extension: sanitizing pruning shears
- Minnesota Extension: pruning-tool materials and maintenance
- Illinois Extension: maintaining and storing garden tools
Prepared with AI assistance; this is research-based guidance, not a personal growing trial. Editorial policy · Suggest a correction