
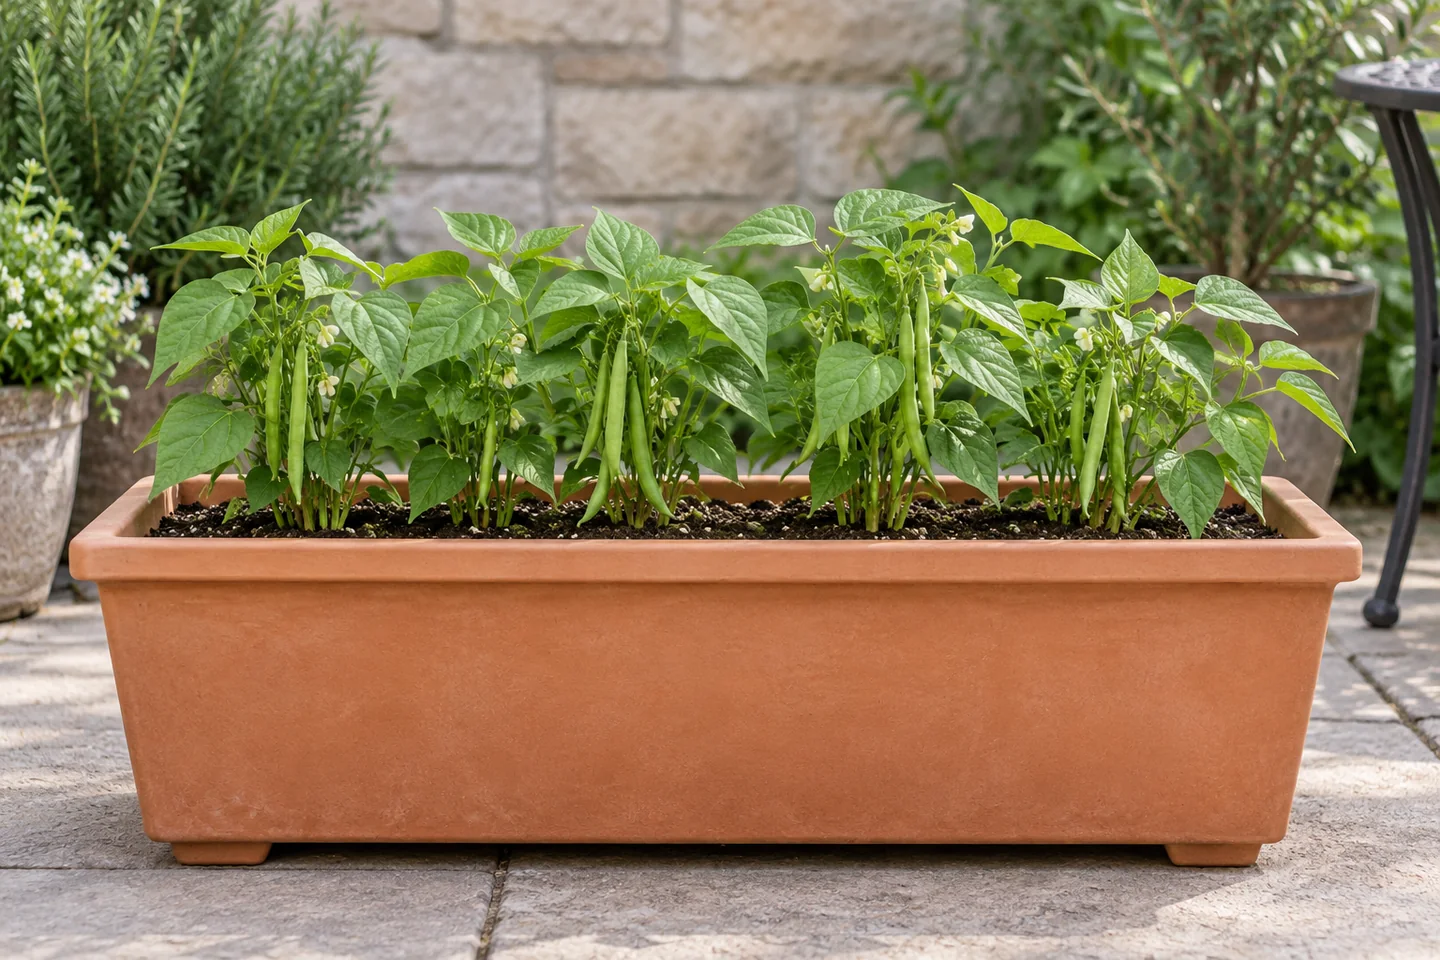
Bush snap beans are a useful small-container project when the packet, planting surface, and season agree. Start with the final plant positions on paper. A generous-looking planter can still be crowded, and a gallon rating alone does not tell you how many plants fit.
Choose bush snap beans and measure usable space
Illinois Extension distinguishes upright bush beans from climbing pole beans. Check for “bush” on the packet if you want a crop without a tall pole system. “Green bean” describes the harvest, not necessarily the growth habit. This guide concerns snap beans picked for tender pods, not a dry-bean harvest plan.
N.C. Cooperative Extension recommends long containers at least 6–8 inches deep for beans and peas, with snap beans spaced 4–6 inches apart. Its local planting dates apply to its region. Follow the packet for your cultivar and measure the depth that will actually hold mix after allowing watering headroom or a reservoir.
Maryland’s minimum-volume table lists two gallons for bush beans. That is a container-size reference, not permission to put any number of plants in two gallons. Check volume, depth, and planting surface together. The larger example below is an easy-to-measure layout, not the smallest workable pot.
A four-position layout you can check with a ruler
Suppose the usable planting surface is a rectangle 24 inches long and 12 inches wide. Choose the wider end of the cited spacing range: six inches between plant centers. Mark one row down the middle, six inches from either long side. Along that row, mark centers 3, 9, 15, and 21 inches from the left end.
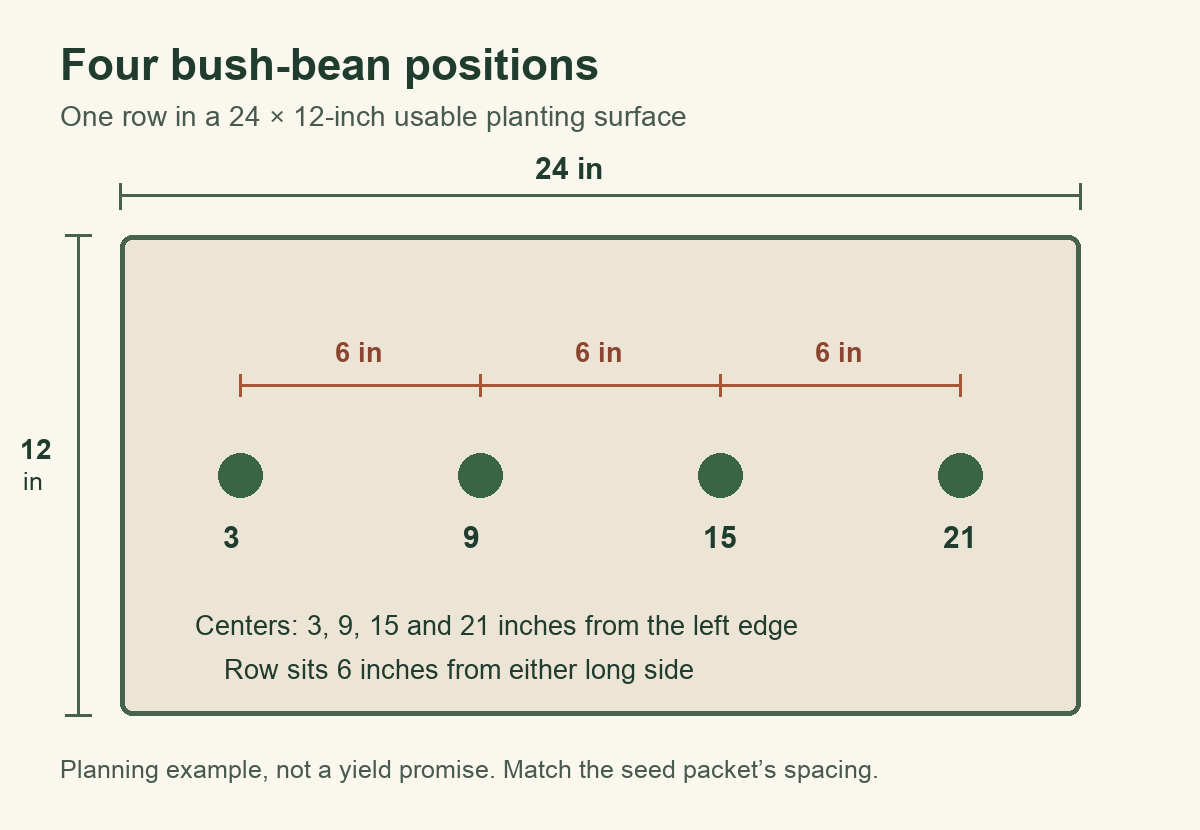
There are three six-inch gaps between four plants. Those gaps total 18 inches; add a three-inch margin at each end and the total is 24 inches. This is one row only. Do not copy the six-inch spacing into several rows without checking the cultivar’s row or container guidance. Leaves can extend beyond the planting surface, so leave surrounding access space too.
| Measurement in this example | What it tells you |
|---|---|
| 24 × 12-inch planting surface | Room for the four marked positions in one central row; curved corners or obstructions change the usable area. |
| 11-inch internal height minus 1-inch headroom | 10 inches of usable mix depth, assuming no false bottom or reservoir. |
| 24 × 12 × 10 inches of mix | 2,880 cubic inches: about 1.67 cubic feet or 12.5 US liquid gallons in a straight-sided box. |
The four marks represent retained plants, not a guarantee that four seeds germinate or a target number of meals. If the packet calls for wider spacing, reduce the count. Use the container-size guide and mix-selection guide before buying supplies.
Sow into the final container in the right season
Illinois describes snap beans as frost-sensitive warm-season plants. Wait for suitable local conditions and follow the packet’s sowing depth. Its general guide uses one inch, but the packet and local extension guidance should settle the choice for your seed and conditions. Do not soak beans before sowing; Illinois warns that this can impair germination.
- Fill a draining container with suitable mix and mark the selected row and plant positions.
- Sow directly in the final pot according to the packet. Label the variety and date before setting the packet aside.
- Water gently and check the seed zone while waiting for emergence. Keep a note of unusually cold or saturated conditions.
- Retain the final spacing specified by the packet. Keep surplus seed for a later suitable sowing rather than deliberately crowding this crop.
On October 2, an open-air sowing may already be too late in a frost-prone region. A mild-winter location can have a different calendar. Check your local extension dates and the fall planning worksheet; a short maturity listing does not guarantee a crop in cooling weather.
Keep a small care and harvest record
Use one line per visit: date, mix condition, flowering or pods, and action taken. The watering guide helps decide whether the root zone actually needs water. Read the mix and fertilizer labels together rather than adding feed each time growth looks slow. Photograph a new symptom before it changes, and use the symptom checklist if the cause is unclear.
Illinois advises picking firm, crisp pods before the seeds inside become prominent, and waiting until foliage is dry. Support brittle stems as you pick. Check regularly during the harvest period and record the first and last useful picking dates. The number of pods depends on the variety and conditions; the layout diagram establishes spacing, not yield.
Updated October 2, 2026: Added a measured planting diagram, usable-depth and volume calculations, and source-checked sowing and harvest guidance.
Your next steps
0 of 5 steps checked · Saved on this device
Sources & further reading
Extension resources support the growing principles in this guide. Planning examples apply them to small container gardens. Local conditions and variety instructions take priority.
- Illinois Extension: Snap beans
- N.C. Cooperative Extension: Easy container vegetables
- Maryland Extension: Growing vegetables in containers
Prepared with AI assistance; this is research-based guidance, not a personal growing trial. Editorial policy · Suggest a correction