
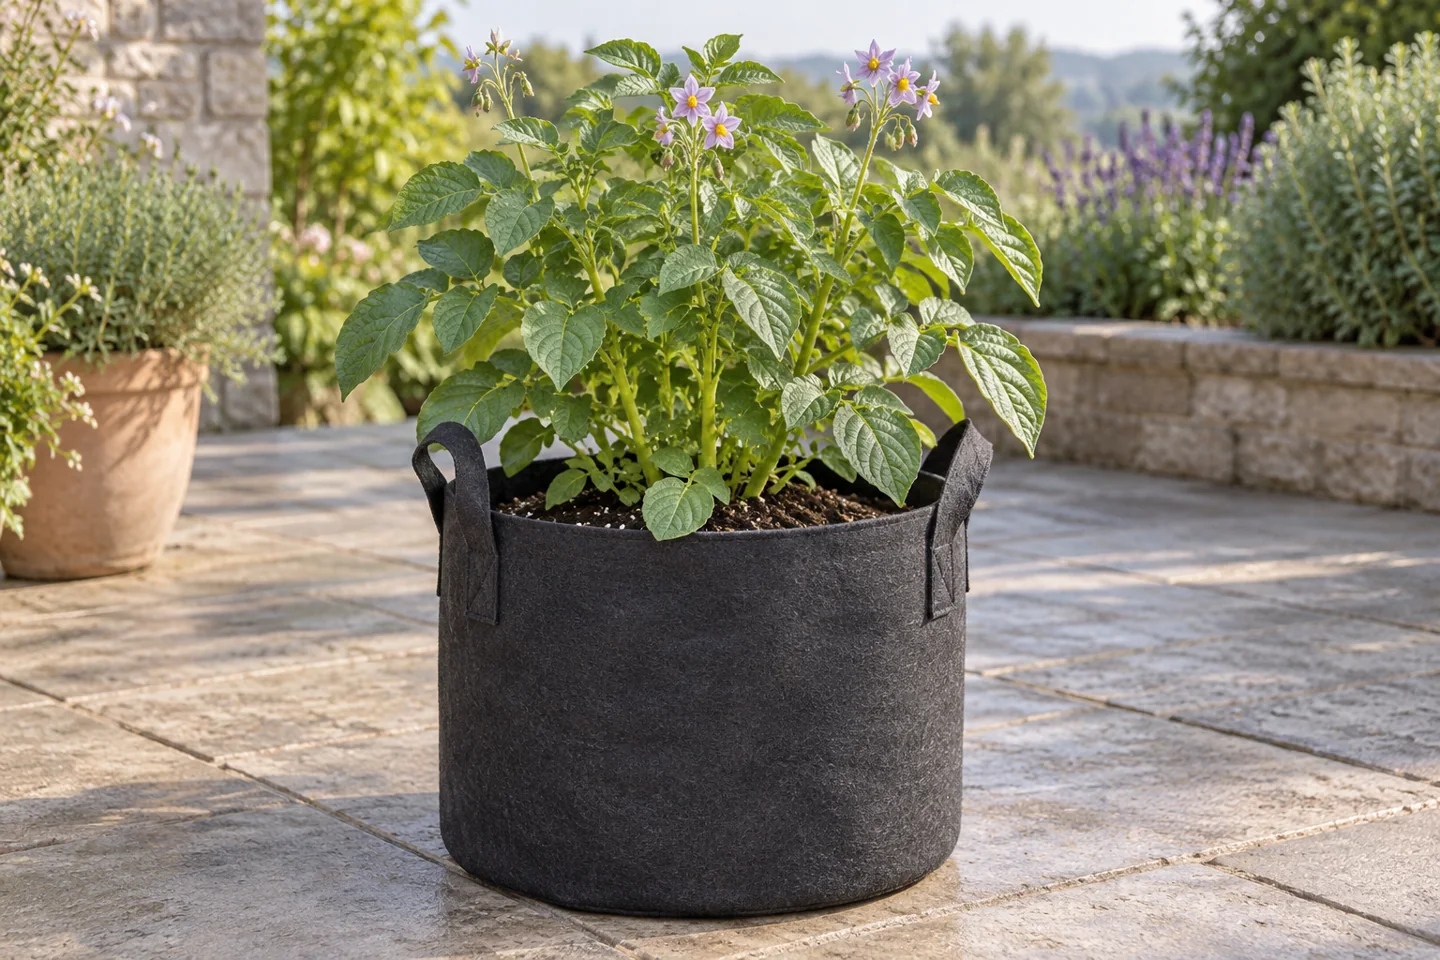
A potato grow bag needs two kinds of room: space between the seed pieces and enough growing medium around the developing crop. Check both before buying seed. A tall bag or an impressive gallon label alone cannot tell you how many plants fit or how much you will harvest.
Use container guidance as a complete plan
UNH Extension describes a 10–15-gallon container plan, allowing about five gallons of mix per plant and roughly one foot between seed pieces. Its example uses an opaque, draining container about two to three feet tall and warns against taller setups that are difficult to water evenly. Those are the dimensions of that plan, not a universal minimum for growing any potato.
Maryland documents three potato plants grown in a five-gallon fabric bag. That is a different demonstrated setup, not proof that every five-gallon bag should hold three plants or deliver the pictured harvest. The sources show why the existing 10–15-gallon suggestion should be treated as one manageable option, with spacing and usable fill volume checked separately.
| Check before planting | How to use the result |
|---|---|
| Usable mix volume | For the UNH plan, ten usable gallons divided by five per plant gives room for two plants by volume. This is only the first check. |
| Actual space between planting positions | Can two seed-piece centers sit about twelve inches apart with room around them? If not, reduce the count or use a wider container. |
| Internal depth and reserved headroom | Sketch the starting fill, seed cover and later additions. Do not count air above the mix or folded-down fabric as root volume. |
| Filled location and harvest access | Choose a place you can water and empty safely without carrying a heavy wet bag through the house. |
Start with planting stock and a local date
Minnesota recommends disease-free seed tubers from a certified grower or seed distributor. A grocery potato or last year’s saved tuber is not equivalent planting stock. Keep the variety name and supplier instructions; small whole seed tubers can avoid the cutting step.
If dividing larger tubers, use a clean knife and board, retain at least one eye on each piece, and let cut surfaces dry and form a protective layer before planting, as Minnesota’s seed preparation guidance explains. Protect emerging sprouts from damage. A smaller piece is not automatically a better way to stretch a purchase.
Choose the regional planting window before ordering. October 3 is not a nationwide recommendation to start potatoes outdoors. In a frost-prone location, today’s useful task may be harvesting or planning next year. Mild-winter areas have different calendars. Record the local recommendation beside the cultivar’s maturity information; our season-planning guide helps separate calendar arithmetic from suitable growing conditions.
Allow for the starting fill and later coverage
The UNH container method starts with six to eight inches of mix below the seed pieces and adds another six inches over them. That already occupies roughly 12–14 inches before later additions and watering headroom. Draw those levels on paper next to the bag’s actual internal height. If they do not fit, choose a suitable container or a different complete extension plan rather than omitting part of the method.
As growth develops, maintain cover over developing tubers and leave foliage exposed. Use a suitable container growing medium and keep extra mix ready. Hilling protects tubers from light; it does not establish a guaranteed tower of potatoes. Check moisture below the surface with the watering guide and follow container-use directions on fertilizer products, recording any feed already present in the mix.
Choose the harvest stage and sort carefully
Minnesota distinguishes tender-skinned new potatoes from mature tubers harvested after the plants have dried. New potatoes are for prompt use; a storage crop needs mature, well-set skins and a variety suited to storage. Unexpected early yellowing needs investigation, not an automatic declaration that the crop is ready.
- Set out a tarp or shallow collection tray before disturbing the bag. Work where spilled mix can be gathered without blocking a drain.
- Handle the crop gently and separate damaged tubers while sorting. Record usable harvest separately from losses.
- Keep harvested potatoes out of light. Do not put cut or injured tubers into long storage.
- Follow the linked extension harvest and storage guidance for curing and conditions. Do not taste green potatoes to decide whether they are safe; discard extensively green tubers and do not eat sprouts.
Finish the record with bag dimensions, plant count, mix purchased, harvest stage and usable weight if you measured it. Compare that result with the space and care the project needed. One labeled bag gives a useful personal record; the illustration here is not a harvest result or a promise of savings. Before another planting, use the mix-reuse checks and keep any suspected disease history with the notes.
Updated October 3, 2026: Qualified the 10–15-gallon plan with container-specific sources and added seed preparation, fill-depth and harvest checks.
Your next steps
0 of 5 steps checked · Saved on this device
Sources & further reading
Extension resources support the growing principles in this guide. Planning examples apply them to small container gardens. Local conditions and variety instructions take priority.
- UNH Extension: Potatoes in containers
- Minnesota Extension: Growing potatoes
- Maryland Extension: Vegetables in containers
Prepared with AI assistance; this is research-based guidance, not a personal growing trial. Editorial policy · Suggest a correction