
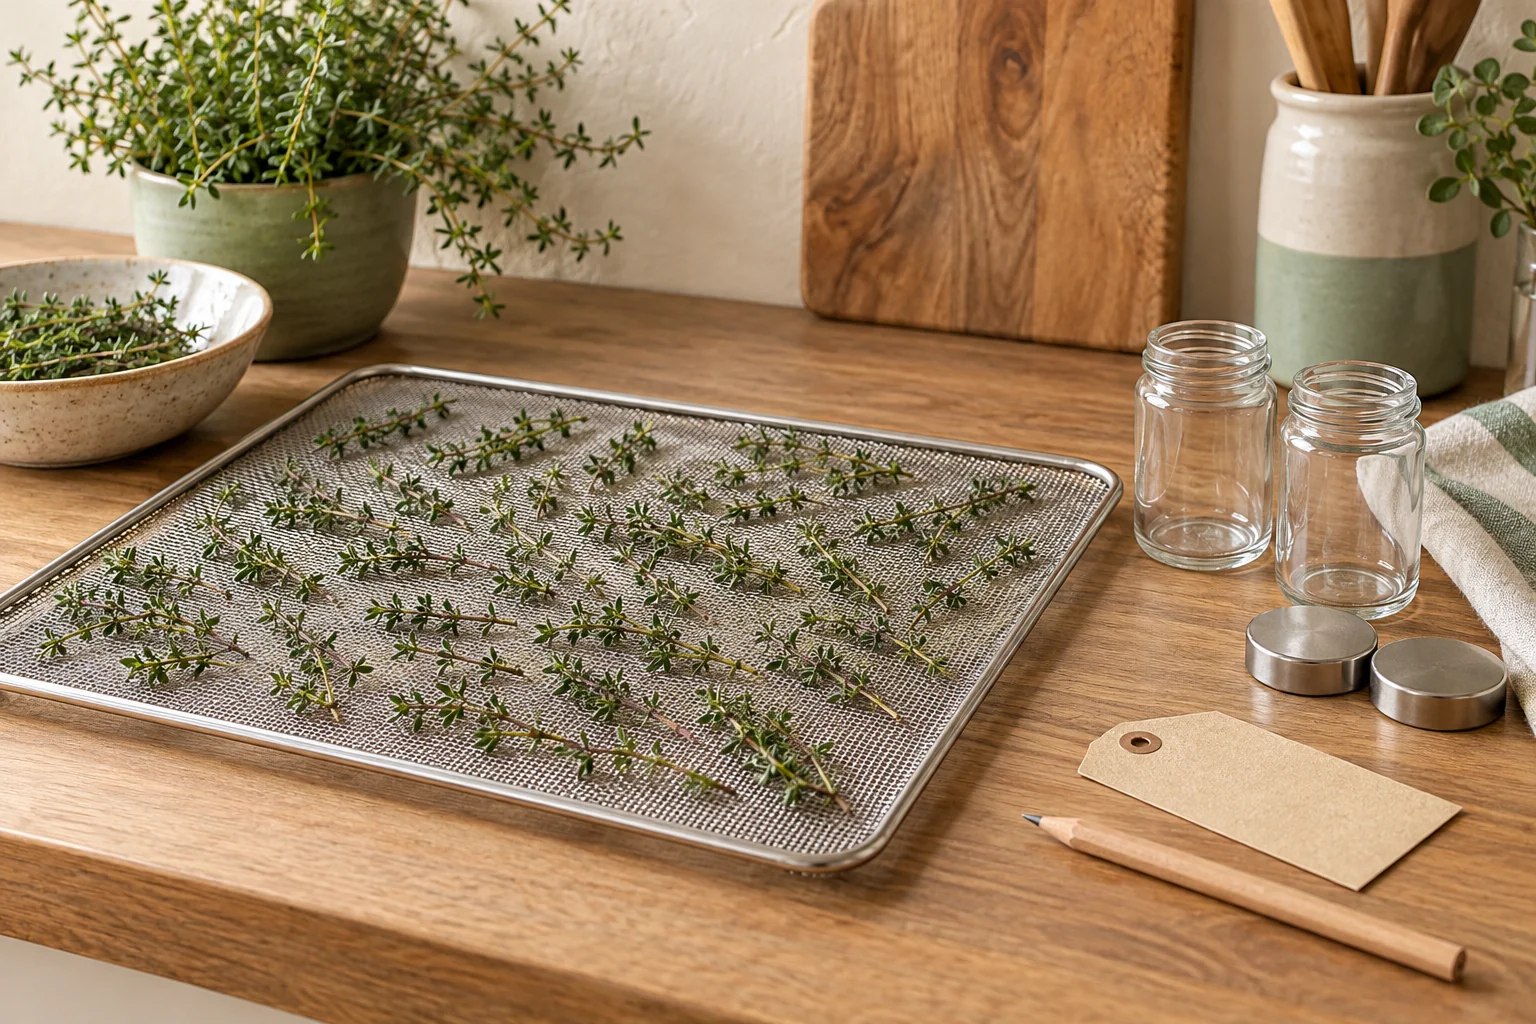
A few healthy sprigs can become a useful jar of seasoning, provided they dry thoroughly before the lid goes on. Begin with one familiar culinary herb and a small batch. The useful goal is a dry herb you will cook with, not a decorative bundle left hanging indefinitely.
Choose a method that fits the leaves and your room
The National Center for Home Food Preservation distinguishes sturdy herbs such as thyme, rosemary and sage from moisture-rich leaves such as basil and mint. The latter need prompt drying to avoid mold. A humid room or a dense bundle makes a passive method less dependable; a dehydrator gives more control over airflow and temperature.
| Your situation | A practical choice |
|---|---|
| A few thyme or rosemary sprigs; dry room with moving air | A small, loose air-drying batch can work. Keep it away from steam and dust. |
| Tender leaves, humid weather or limited airy space | Use a dehydrator that supports the low temperatures recommended for herbs. |
| You cannot check the batch or control the drying conditions | Use the fresh herbs promptly or follow a suitable freezing method instead of leaving a wet pile waiting. |
If your cooking needs herbs for soup rather than a dry seasoning, small frozen portions may fit better. Drying and freezing produce different textures. This guide covers familiar edible culinary herbs; it is not a way to identify unknown plants or prepare medicinal products.
Prepare a clean batch and keep its name attached
Oregon State recommends labeling herbs when picked because many look alike after drying. Gather sound material after dew has dried, preferably before flowering for best flavor. Remove damaged or soiled leaves, rinse under cool water, and remove excess surface moisture gently. Keep each herb separate so both the drying observations and the eventual seasoning remain identifiable.
- Wash hands and use clean preparation surfaces, scissors and food-safe trays.
- Write the herb name, harvest date and intended method on a batch note.
- Spread leaves or sprigs with room for air to pass, rather than building a damp mound.
- Retain the note until the finished herb is in its labeled storage container.
Dry gently, then check the leaves themselves
For dehydrating, NCHFP recommends 95–115°F, with up to 125°F sometimes needed in humid conditions. Spread herbs in a single layer and follow the appliance instructions. Its one-to-four-hour estimate is a checking window, not an automatic finish time. Differences in leaf thickness, tray loading and room humidity matter. Check periodically and keep drying until the leaves crumble and stems snap when bent.
For air drying, Penn State advises small clusters in a dry, well-ventilated place. Keep them away from a sink, stove or dishwasher. A perforated paper bag can act as a dust shield while allowing airflow. Small leaves can instead sit on a fine food-safe screen. Do not replace the ventilated cover with a closed plastic bag. Penn State also gives a post-drying insect treatment for air-dried herbs: freeze at 0°F or below for at least 48 hours. Read its complete handling guidance before choosing that method.
A normal oven’s lowest setting may be too hot for good herb flavor. Do not improvise a microwave schedule or an unattended open-door oven arrangement. Use equipment instructions and an established method. The illustration shows a preparation tray; it cannot show that a batch has reached safe storage dryness.
Cool, pack and watch for moisture
NCHFP’s dried-food storage guidance says to cool the food completely before packing into clean, dry containers. Warm food can release moisture inside a closed jar. Use airtight storage, keep it cool, dry and dark, and check for moisture during storage. Discard moldy herbs; drying them again is not a repair for mold.
Package modest amounts so the whole supply is not exposed to kitchen air at every meal. Label the herb, drying date and method. Keep a separate batch note with appliance temperature, approximate time and the dryness check you actually observed. If a jar shows moisture or leaves become soft, do not treat the batch as ready pantry seasoning; consult the storage guidance and discard it when spoilage is present or the condition is uncertain.
Oregon State advises keeping leaves whole until use to retain more aroma and flavor. Its six-month-to-one-year guidance concerns best quality, not a promise that a damp jar will keep. Store the jars away from the stove and use the oldest sound batch first. For the next harvest, rosemary care and parsley care help you plan what the plant can supply.
Start small when seasoning
A common conversion is one teaspoon of dried herb for one tablespoon of chopped fresh herb. Penn State presents this as a guideline, so taste and adjust the dish rather than assuming every home-dried batch has identical strength. If a recipe asks for two tablespoons fresh, start with about two teaspoons dried. That is a cooking substitution, not a prediction of how many teaspoons your tray will yield.
Your next steps
0 of 5 steps checked · Saved on this device
Sources & further reading
Extension resources support the growing principles in this guide. Planning examples apply them to small container gardens. Local conditions and variety instructions take priority.
- National Center for Home Food Preservation: drying herbs
- Penn State: drying methods and air-dried herb treatment
- Oregon State: drying and using herbs
- National Center for Home Food Preservation: dried-food storage
Prepared with AI assistance; this is research-based guidance, not a personal growing trial. Editorial policy · Suggest a correction