
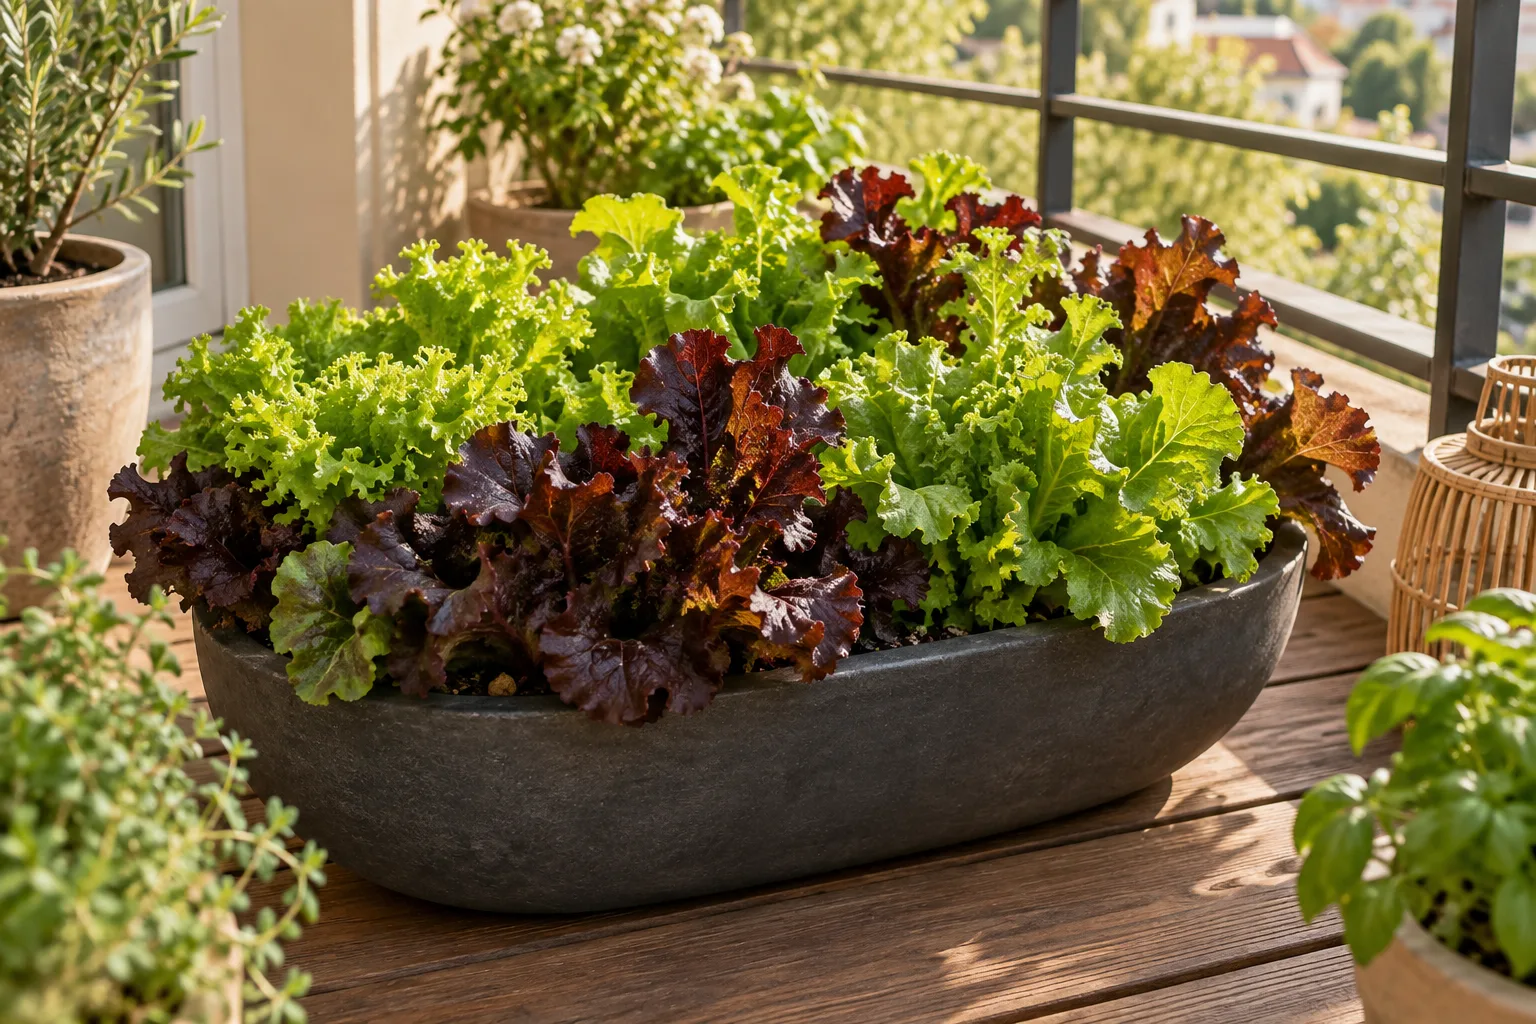
Choose how you want to harvest lettuce before deciding how many plants belong in the pot. A close planting for small leaves and a planting of mature lettuce use the same space very differently. A square planter makes the difference easy to measure.
Pick one harvest style
| Harvest goal | Spacing approach | What that means |
|---|---|---|
| Baby leaves | About 2 inches between plants after thinning | Harvest young; do not expect every plant to become a full head. |
| Mature looseleaf plants | Often 4–8 inches on all sides, depending on variety | Leave the named variety’s growing space for larger plants. |
| Whole heads | Use the variety’s mature spacing | Check both directions; a row-spacing instruction is not automatically a square-grid plan. |
Maryland’s baby-green guide describes thinning to about 2 inches and harvesting at roughly 4–6 inches tall. Its lettuce guide gives 4–8 inches on all sides for looseleaf varieties in a wide planting. A seed mix sold for baby leaves does not remove the need to thin or harvest at that young stage.
Lay out a 12-by-12-inch planter
Measure the inside planting surface, not the outside rim. For this worked example, use a drained planter with a 12-by-12-inch surface and about 8 inches of usable potting-mix depth. That depth is a practical choice for this example, not a universal minimum for all lettuce systems. Allow extra container height above the mix for watering.
| Example layout | Positions across × down | Total positions |
|---|---|---|
| Baby leaves at 2-inch centers | 6 × 6 | 36, harvested young |
| Looseleaf variety suited to 6-inch centers | 2 × 2 | 4, given space to grow larger |
For the baby-leaf layout, put the first line of positions 1 inch from the inside wall, then mark every 2 inches: 1, 3, 5, 7, 9, and 11 inches. Repeat in the other direction. For the 6-inch layout, mark 3 and 9 inches each way. Use a ruler laid across the rim to visualize the positions before sowing.
Choose the four-position version only when the variety’s instructions support 6-inch spacing. If it needs 8 inches, redraw the layout and use fewer plants. If your planter narrows sharply below the rim, also check its root space. Our container-size guide explains the difference between width, depth, and volume.
Sow and thin for the layout you chose
- Fill with a suitable container mix and moisten it before sowing. Keep drainage outlets clear.
- Follow the seed packet’s covering depth and germination instructions. Label the variety and sowing date.
- After seedlings establish, keep the strongest plant at each planned position. Snip unwanted seedlings carefully so nearby roots are not pulled loose.
- Check that the remaining centers actually match your plan. A strip of unthinned seedlings around an edge still creates crowding.
- Keep the label’s feeding instructions with the pot. Check whether the mix already contains fertilizer before adding more.
Maryland’s container guidance emphasizes drainage and matching the container to the crop. A saucer catches runoff; empty it after watering rather than keeping an ordinary drained pot standing in water. The potting-mix guide helps you compare bag labels.
Fit lettuce to the weather you have
UF/IFAS gives 50–75°F as lettuce’s preferred temperature range and notes that hot conditions can cause early bolting and bitter leaves. This is a crop preference, not a promise that every day must fall inside that range. Choose a locally suitable planting season and variety; afternoon shade can be useful in heat, but cannot turn a persistently hot season into a cool one.
If sowing in autumn, use the fall planting calculation with the correct harvest stage. Observe the planter as shadows change. Check moisture below the surface and around young seedlings; a drying edge and a wet center may need different attention. Use the watering checks instead of a fixed daily dose.
Harvest according to the original goal
For baby greens, cut the young leaves with clean scissors. In its salad-table method, Maryland Extension leaves about an inch above the growing medium to allow regrowth. Avoid cutting into the central growing point. A further picking is possible when plants recover well; light, temperature, and plant condition determine whether it is worthwhile.
For spaced looseleaf plants, Maryland recommends taking older outer leaves first. Leave the center to continue growing. A whole-head planting has a different finish: use that variety’s maturity cues. Once a planting becomes bitter or develops a flower stalk, plan its replacement instead of assuming another cut will restore tender leaves.
Record the date and whether the harvest was useful for your intended meal. If you want continuity, start a separate small planting only while the local season still fits. Keeping the batches separate makes it easier to thin, water, and replace each at the right stage.
Updated September 27, 2026: Added baby-leaf and mature-plant comparisons, checked planter layouts, and harvesting instructions.
Your next steps
0 of 5 steps checked · Saved on this device
Sources & further reading
Extension resources support the growing principles in this guide. Planning examples apply them to small container gardens. Local conditions and variety instructions take priority.
- Maryland Extension: Growing microgreens and baby greens indoors
- Maryland Extension: Growing lettuce in a home garden
- Maryland Extension: Growing vegetables in containers and salad tables
- UF/IFAS Gardening Solutions: Lettuce
Prepared with AI assistance; this is research-based guidance, not a personal growing trial. Editorial policy · Suggest a correction