
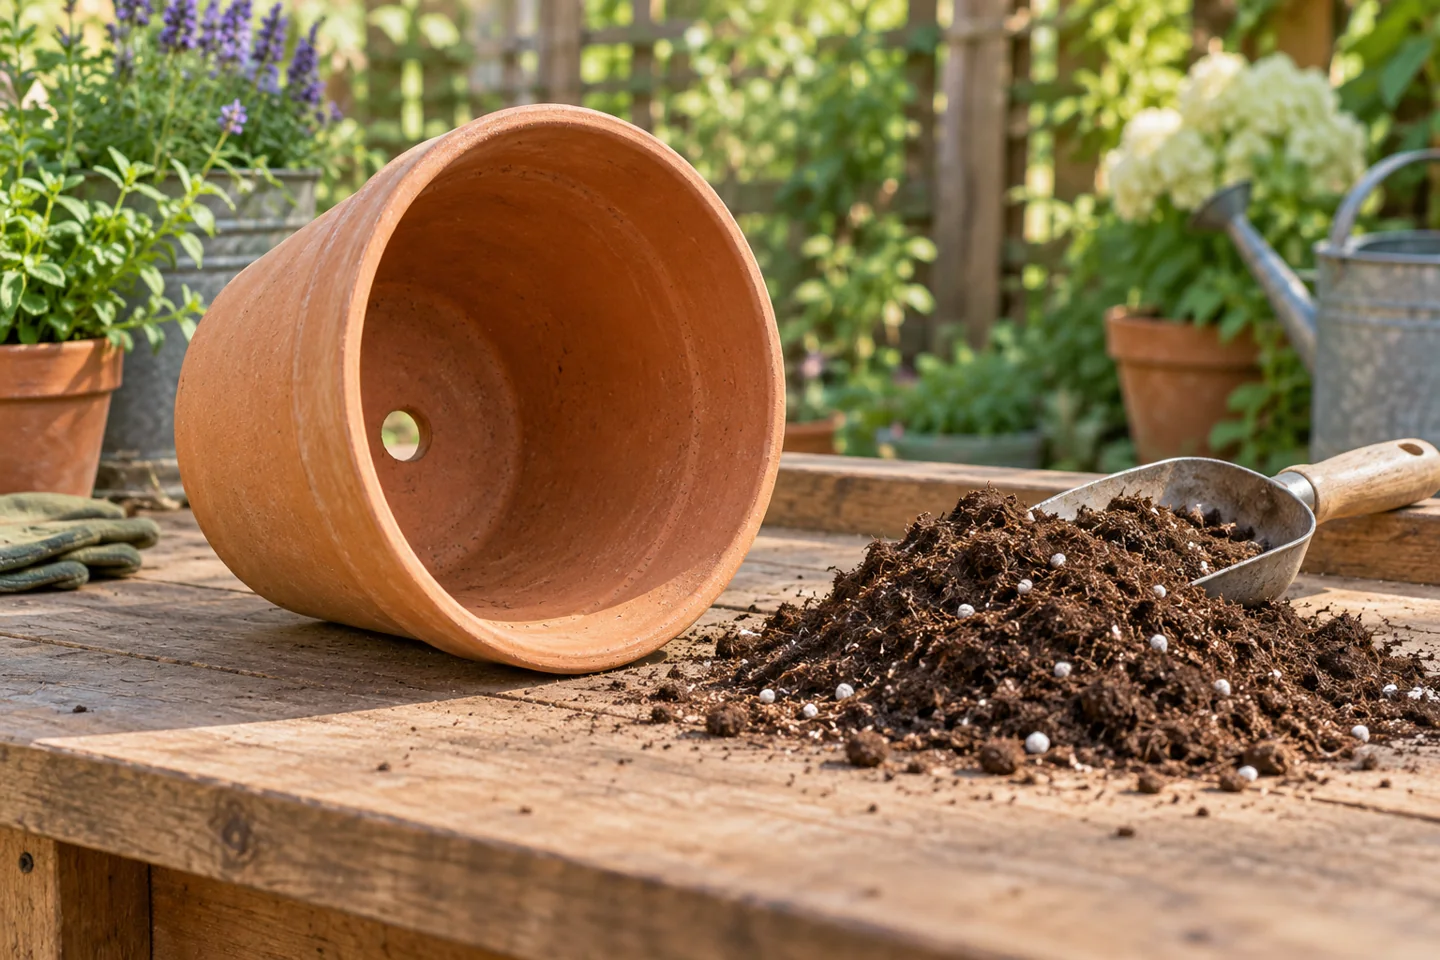
Before filling a vegetable pot, turn it over. Find the outlet, check what will sit beneath it, and decide where the runoff can go. That inspection does more useful work than adding a hidden layer of rocks. An ordinary pot needs suitable growing mix and a working exit for excess water.
What a gravel layer changes
Illinois Extension explains why gravel beneath potting mix does not improve drainage. Water can collect in the finer material above the coarse layer before moving into it. The stones also occupy space that could hold mix. They do not turn a sealed vessel into a draining pot.
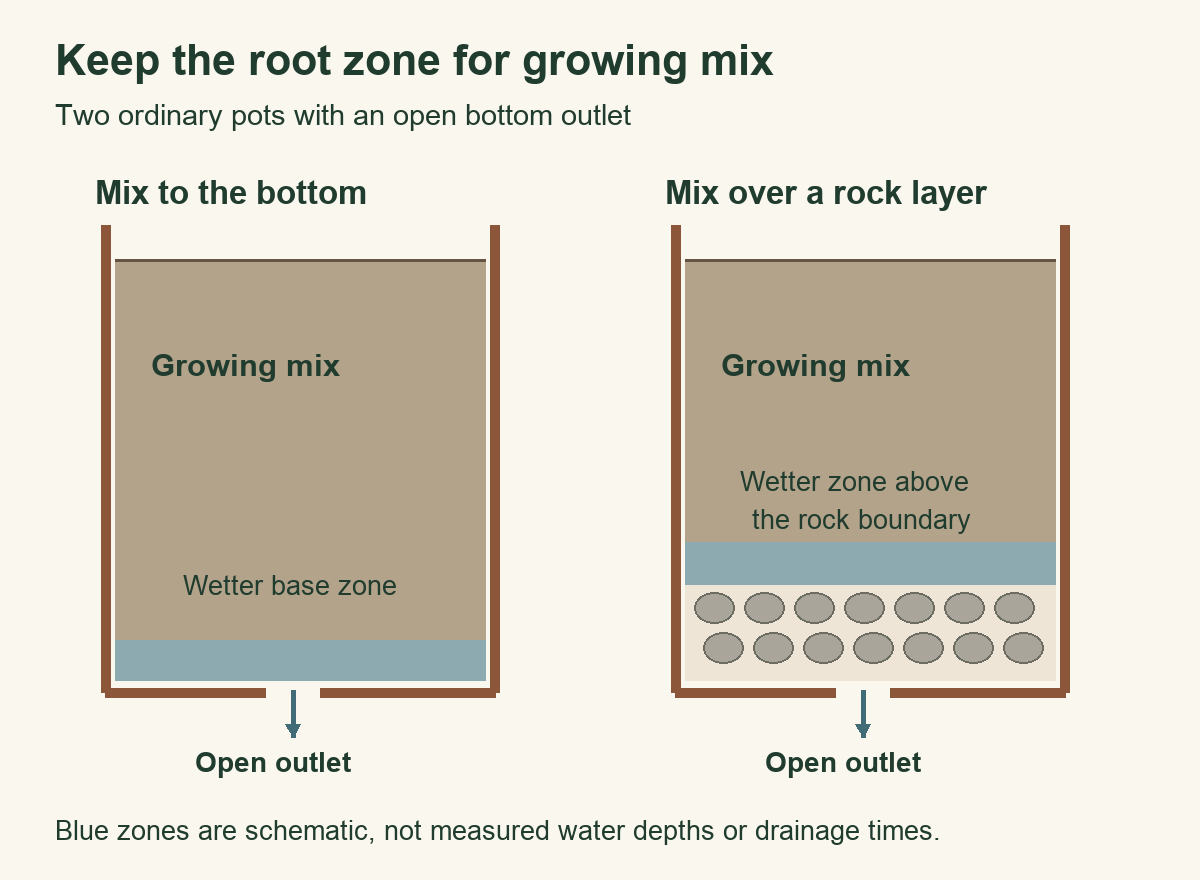
Open the full-size drainage diagram.
Read the diagram from top to bottom. In the first pot, the growing medium reaches the bottom outlet. In the second, it ends above the stones. The blue bands indicate where wetter mix can remain; their size is schematic. Neither a drainage hole nor the absence of stones guarantees that every part of the mix is dry after watering.
There is a simple space cost you can measure without a drainage experiment. In a straight-sided example with 12 inches of internal height and one inch reserved at the top, 11 inches remain for mix. Adding a three-inch rock layer leaves eight inches: three inches less root-zone depth. A tapered pot needs a separate volume calculation, so do not turn that depth comparison into an exact percentage of soil lost.
Identify which kind of container you have
| Container setup | What to check before filling |
|---|---|
| Ordinary pot with bottom holes | Locate every opening and remove shipping plugs only as the manufacturer directs. Check that its resting surface leaves the outlets usable. |
| Decorative outer pot without holes | Use a separate draining inner pot that can be lifted out. Plan how to remove collected water before replacing it. |
| Purpose-built reservoir planter | Follow its fill, overflow and wicking instructions. Identify the overflow outlet rather than treating the reservoir as an ordinary saucer. |
Illinois distinguishes drained inner pots from decorative outer containers and engineered self-watering systems. The practical question is where excess water goes. Do not drill a reservoir planter at an arbitrary height or convert an ornamental pot without checking the maker’s instructions and the material.
Make a runoff plan before planting
- Inspect the empty pot in good light. Photograph the underside so you can later locate openings without lifting a full container.
- Place it where you intend to grow, leaving safe access for watering and tray removal. Check building rules before arranging balcony runoff.
- Read the mix label and select a product intended for containers. Record whether fertilizer is already included.
- After the first thorough watering, observe the outlet and receiving tray. Remove collected water from an ordinary saucer or cover pot.
- Write down any obstruction or pooling you actually see. Correct the accessible cause and recheck after the next necessary watering.
Illinois notes that unamended garden soil does not drain adequately in pots. Its houseplant guidance supports that general distinction, not one universal recipe for every vegetable. Use our container-mix comparison to choose the growing medium, and pot-size guide to match usable root space to the crop.
If an existing pot stays wet
Start with the parts you can inspect without dismantling the planting: a plugged outlet, a full saucer, a tight decorative cover, or a recent spell of rain. Record the date, weather, and moisture below the surface using the watering checks. A dark surface or a wilted leaf alone does not establish which part of the setup is failing.
If the plant keeps declining after an obvious obstruction is corrected, take photographs of the whole plant, its symptoms, and the container. Include the mix name and watering history when asking an extension office for help. The symptom worksheet makes that request more useful. An established, healthy planting does not need to be torn apart today solely because an old gravel layer is present; plan any necessary repotting around the plant and the actual problem.
Updated October 3, 2026: Added a drainage cross-section, a root-space calculation, and container and runoff checks.
Your next steps
0 of 5 steps checked · Saved on this device
Sources & further reading
Extension resources support the growing principles in this guide. Planning examples apply them to small container gardens. Local conditions and variety instructions take priority.
Prepared with AI assistance; this is research-based guidance, not a personal growing trial. Editorial policy · Suggest a correction