
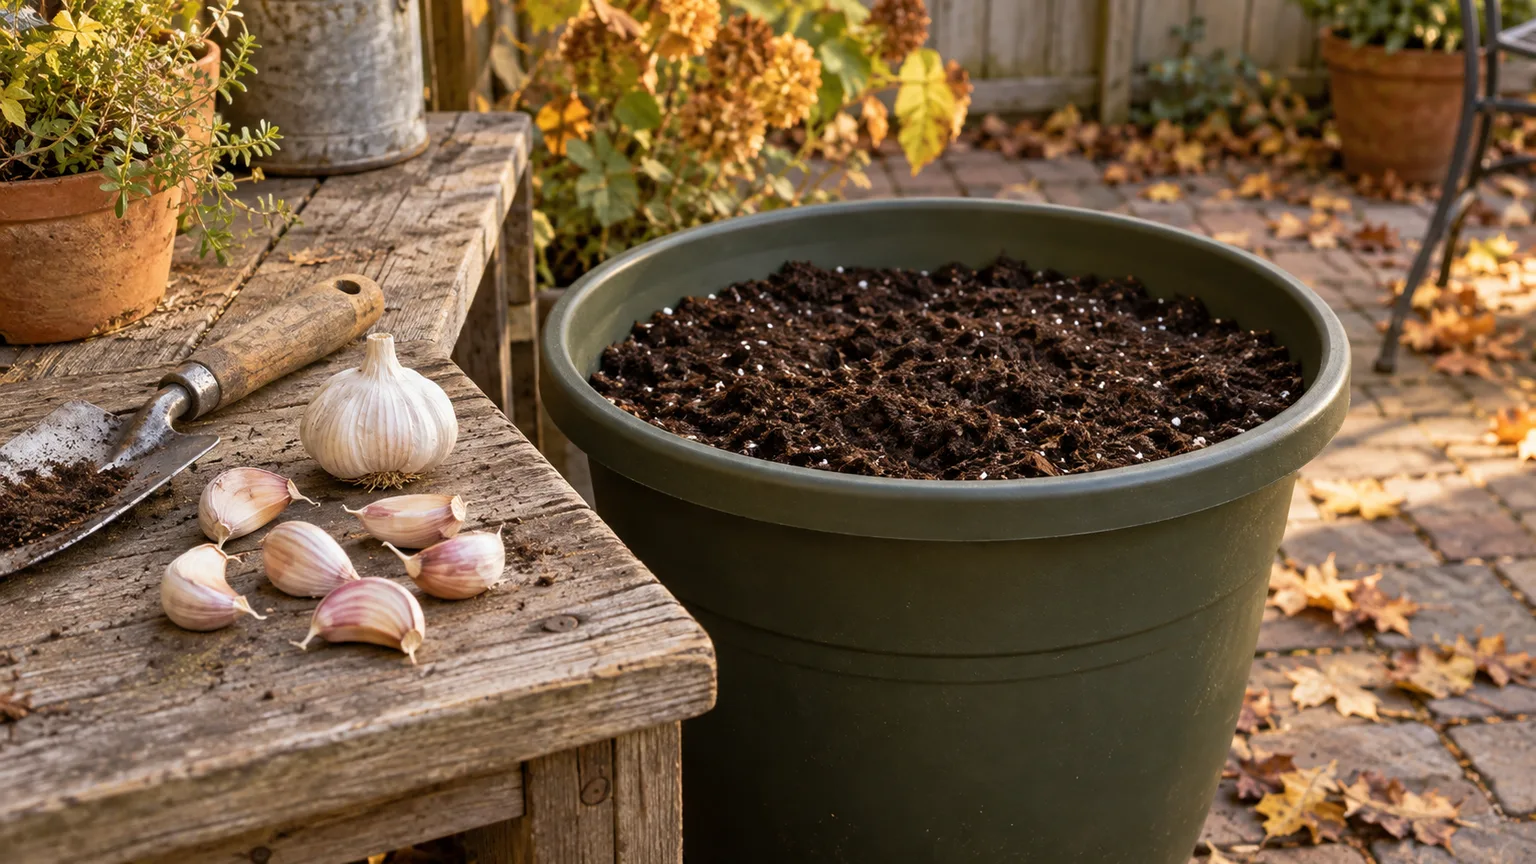
Before you buy cloves
Garlic can grow in pots, but the winter plan matters as much as planting day. Choose planting stock suited to your region, allow generous spacing, and plan where the container will spend cold weather. In a very cold climate, an exposed balcony pot is a risky place to expect a full crop.
Garlic asks for patience and a place to stay. You are reserving a container for months, often from fall into the following summer, rather than squeezing in a quick salad crop. Start with one pot so you can learn how your site handles rain, freezing weather, and spring growth.
Match the variety and planting date to your region
Buy named garlic sold for planting from a reputable grower. Ask which varieties perform locally and whether their stock needs any special handling before planting. Minnesota Extension recommends planting cloves in fall and cautions that grocery-store garlic may be poorly suited to its climate. Its guidance commonly places planting one to two weeks after the first killing frost; that is Minnesota advice, not a national planting date. Read Minnesota’s garlic guide.
Maryland Extension gives a different example: mid-to-late October planting in its general crop guide. Both sources illustrate the same planning point—use a local recommendation, not someone else’s month. In a warm-winter area, ask your extension office or seed-garlic supplier which cultivar and chilling practice fit your conditions. Maryland’s planting guidance.
Write three things on your shopping list: the variety, the local planting window, and a realistic winter location for the pot. If the third line is blank, work that out before ordering a large quantity of cloves.
Reserve a sunny growing-season position too
A winter shelter solves only part of the location decision. Maryland Extension calls for at least six hours of direct sun daily for garlic and prefers eight to ten; the RHS also specifies full sun. Plan where the pot can receive that light during active growth, as well as where it will be protected in winter.
Keep two location entries in your plan: the winter position with its measured temperature range, and the growing-season position with its observed sunny intervals. Use the sunlight worksheet to count direct sun rather than the span between morning and evening. Recheck as growth resumes and tree cover or nearby containers change. If you cannot identify a suitable growing position, resolve that before buying cloves; adequate pot spacing alone does not settle the light requirement.
Choose a pot for roots and spacing
The RHS garlic guide specifically recommends containers at least 10 inches deep, with cloves about six inches apart. Its container instructions are useful here, but its planting calendar describes U.K. conditions. A broad, weather-resistant container gives you more usable planting positions than a narrow decorative pot.
Choose a container with drainage and fill it with an appropriate container mix. Keep the drainage openings clear. Leave space at the top for watering and any locally recommended mulch, instead of filling right to the rim. If you are choosing materials for the first time, compare our guide to pots and grow bags.
A simple layout example: a planter with an internal base footprint of 18 by 12 inches could hold six marked positions in two rows of three, with six inches between centers and three-inch edge margins. This is a spacing sketch, not a guarantee of six market-size bulbs. Measure the usable interior, since tapered walls can reduce it. Start with fewer cloves if access, variety size, or your pot’s shape calls for it.
Plant individual cloves with the pointed end up
- Separate the bulb shortly before planting and keep the individual cloves’ protective skins intact. Choose firm, sound planting stock.
- Lay the cloves on the surface first to check your spacing. Plant the flat root end down and pointed end up.
- Use the depth recommended for your variety and local climate. Maryland’s guide describes one to two inches of soil above the clove.
- Water the newly planted mix, let excess drain, and label the variety and date. Photograph the spacing before covering if you want a useful record.
The orientation and soil coverage above follow Maryland Extension’s planting instructions. Note the difference between depth to the base of a clove and the amount of mix above its tip; recommendations may describe either measurement.
Make a winter plan before the first deep freeze
Garlic needs cold conditions for normal bulb development, but a container leaves roots exposed to more severe temperature swings than a garden bed. Do not turn “cold-hardy garlic” into a promise that every small pot can remain unprotected through a northern winter.
Iowa State’s guidance for overwintering container-grown perennials explains the broader root-protection problem: sinking pots in the ground or using a suitably cold, protected structure can protect roots that would be vulnerable above ground. It is general container advice, not a tested garlic protocol for every climate. Use it to frame a conversation with your local extension office about your actual pot, variety, and winter temperatures. Read the winter container guidance.
An unheated garage is not automatically suitable: measure its temperatures rather than guessing. A heated living room is not an equivalent winter treatment. If you cannot provide appropriate conditions, try a small locally recommended spring planting or reserve this pot for a crop with a shorter commitment. A one-night frost cover is not a substitute for a whole-season winter plan.
Plan spring care and recognize harvest time
Check your pot regularly as growth resumes, adjusting water to the mix rather than repeating a summer schedule. Make a fertilizer plan using the product label and local recommendations. If hardneck garlic produces scapes, removing those stems is a common bulb-growing practice described by Minnesota Extension. See Minnesota’s crop-care guidance.
Inspect a sample bulb when foliage begins to die back rather than harvesting only by a date. Maryland recommends lifting carefully when roughly half the foliage has browned, then drying bulbs in a ventilated place out of direct sunlight. Handle them gently and follow the source’s curing guidance before storage. Harvesting and curing garlic.
Is a single pot worthwhile?
Think of the first pot as a manageable growing project. Keep its planting and harvest dates, count the bulbs that formed, and note where it spent winter. You can then decide whether a second container earns its space next season. That decision will be based on your own conditions rather than a photograph of someone else’s harvest.
Your next steps
0 of 6 steps checked · Saved on this device
Sources and further reading
- RHS: How to Grow Garlic, including containers
- University of Minnesota Extension: Growing Garlic
- University of Maryland Extension: Growing Garlic
- Iowa State University Extension: Protecting Container Roots in Winter
Growing recommendations vary with climate and variety. The planting layouts and planning examples in this guide apply the linked research to a small container garden.
Updated November 8, 2026: Added a sourced growing-season sunlight check and a two-location planning step to complement winter protection. Original publication date retained.